Showing posts with label jewellery. Show all posts

Monday, 20 May 2013

Metalwork: Folding and using enamel

I started looking at how I could create some of the patterns I have been looking at, in a more three dimensional way, and experimenting more with materials instead of designing something and then making it. I wanted to try different techniques of making pattern and furthering my ideas that way, before deciding what jewellery or object the piece will be. I started looking at origami folding techniques, and looked at a jeweller, Lois Martens, who uses folding in her silversmithing.

I then started experimenting with folding copper, and I found a shape I liked, which had a cross shape through it.

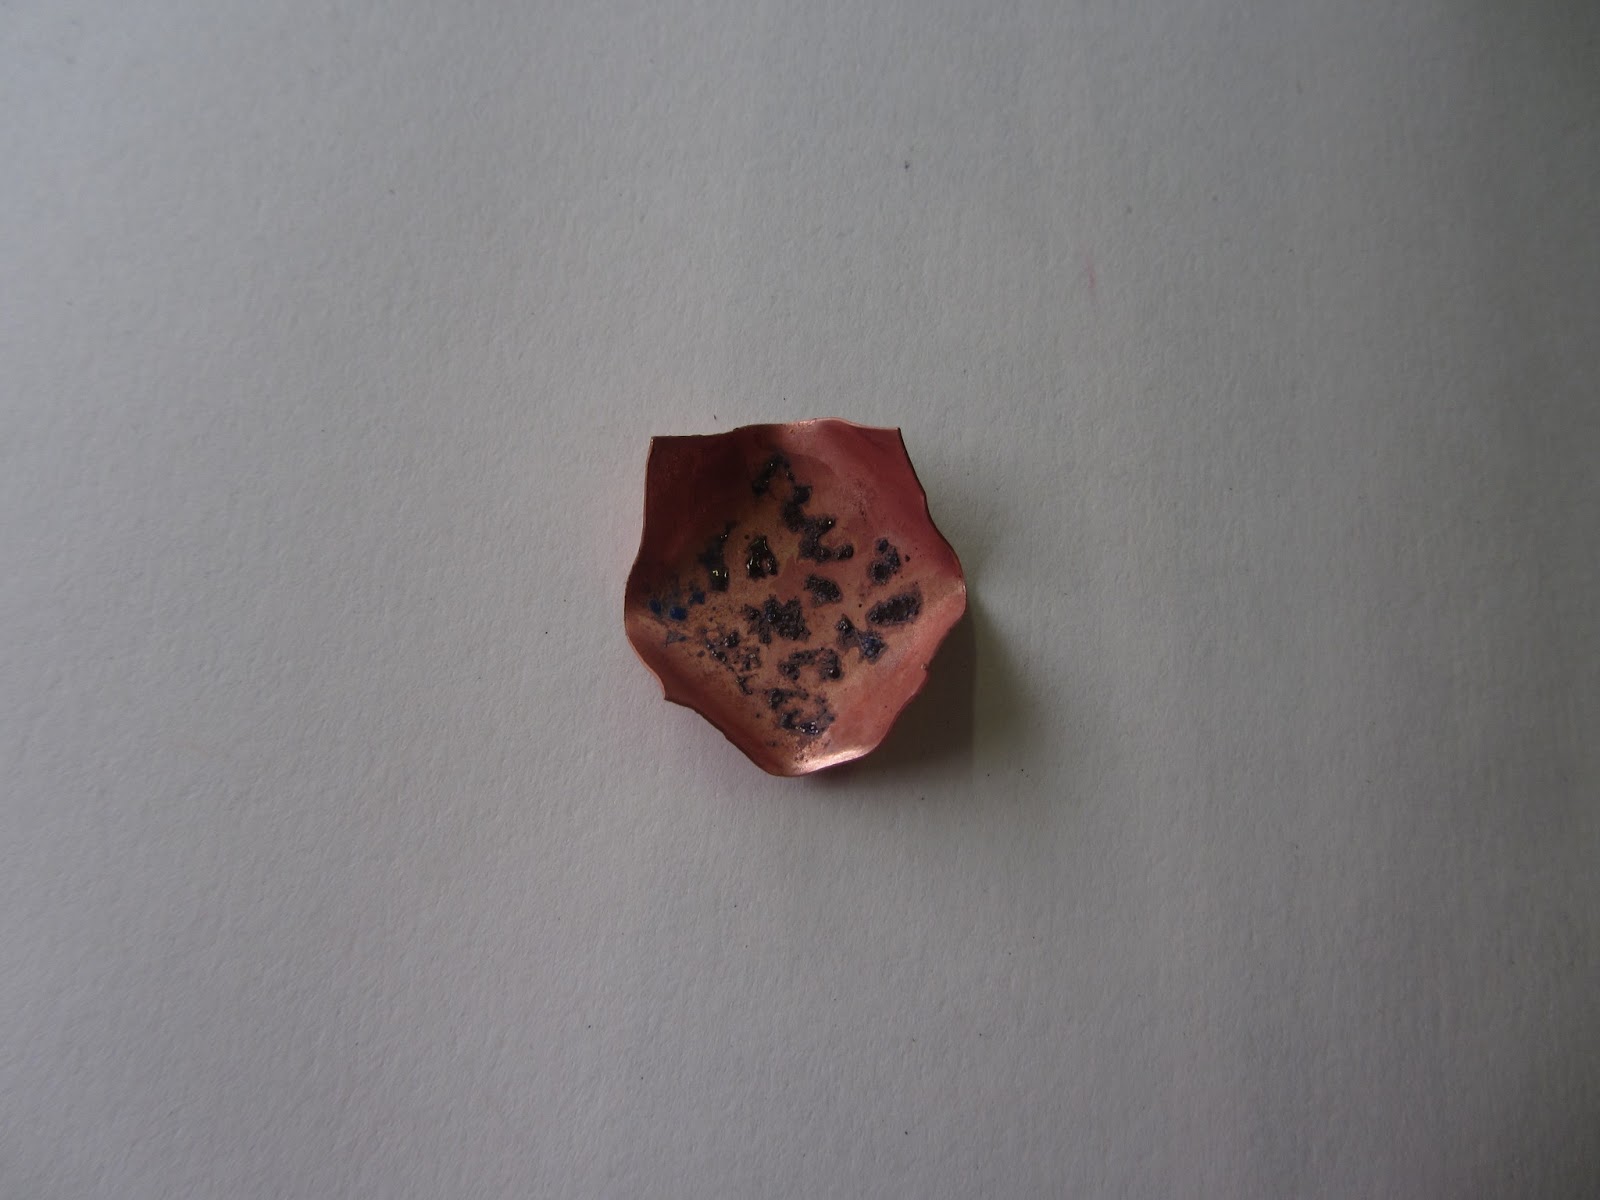
I then started thinking about how I could possibly decorate it, on the inside, so the pattern is only visible through the cross shape, I first thought about putting pattern onto the metal, before I folded it completely. I decided to try some enamel, but I only put it on the square part that shows through the cross.
I thought this worked very well, and was a good way of putting patterns directly onto the metal. I also tried putting paper squares into them with pattern on, and I found that looked good, but I think I would prefer a more intricate pattern on the paper, if it were to be made into a piece of jewellery.
I then decided to try some more enameling, because I think it has a texture and shine that contrasts well with the copper. I tried both putting pattern in the enamel, and some plainer ones, where I focussed on colour, rather than a regular pattern.

 To do this, I mixed the enamel with a little bit of water (keeping each colour separate) and used it like paint onto the copper. I did this with six copper squares, and left them for the water to dry before I heated them. The water has to completely dry out before heating, otherwise it would boil, and could cause the enamel to come off the piece. I used a blowtorch to heat each square until the enamel melted and went smooth and shiny.
I like using enamel because it changes when it is heated, and I find it very interesting to see how they look afterwards.
I folded the edges in before I put the pieces in the acid to get rid of the oxide on the copper.
I then put them together in a regular grid, so that it created another pattern of where the sides meet, and create little diamonds in a regular geometric pattern.


Wednesday, 15 May 2013

Metalwork: Making a copper bangle

I made this bangle with the same method I made rings before, by stamping patterns onto the strip of metal before I bent it into the right shape. I used a file to smooth out the marks that the punches had left on the other side. I wanted the outside to be completely plain and not patterned, to look simple and sophisticated
I started using a fairly rough file, to make it flat, and then smaller, smoother files to make the surface smooth. I decided I wouldn't polish it, because I wanted to keep the satin finish that I got from the wet and dry paper.
My main aim for this bangle is so that the pattern can only be seen when the bangle is not being worn, and much of the items beauty can only be seen by the owner of it.


Metalwork: using resin.

 Inspired by Clare Collinson's silver and resin jewellery, I decided to try using resin in my own jewellery. I first made three copper hoops in different sizes, and used silver solder to solder them to a base piece. I found it difficult at first to get the solder to go all the way around the hoops, as the hoops were heating up a lot faster than the base piece. I then used some wire to make a zig zag shape the piece could sit on, to let heat underneath the base piece, and heat it more evenly. once the soldering was done, I carefully cut pieces of paper to fit in the hoops. these were photocopies of a feather and a butterfly's wing, and I chose each piece carefully to show pieces of interesting pattern.
 I then mixed the resin and filled each of the hoops half full with resin. I left this to harden overnight. I then carefully cut pieces of real feather and butterfly wing into strips, to try to make a zebra pattern from them. I arranged these pieces on top of the set resin, then mixed some more resin and poured it on top. when I was pouring it, I first dripped a bit on each piece, so it would stay where I wanted it when I put the rest of the resin in.
After the last layer of resin had hardened, I noticed some of it had leaked, or possibly overflowed, and had stuck the piece to the paper towel it was resting on. I quite like the effect it has given, because now there is a raised pattern, instead of a plain copper back.


Monday, 13 May 2013

Ceramics: Using coloured slip

I wanted to make a bangle, inspired by Erin lightfoot's ceramic bangles, but I wanted my pattern to be on the inside, Like the copper rings I made. I did this by painting patterns onto white clay using coloured slip, before making it into a bangle.

For my first bangle, I decided to use the diamond shape I have been looking at, and use these as a base pattern, and put other more intricate patterns onto these. I used different types of pattern I have been looking at, animal pattern, pattern from process and patterns which have another purpose.

I then used the same method of painting with slip, but onto smaller pieces, which I then made into beads with pattern on the inside. I tried to keep the outside as plain as possible to contrast with the patterned interior.
 I then wanted to experiment with putting texture on, so I decided to make a scaly, snake skin texture, because this used the same shape repeated so would make a regular pattern. Once I had put the texture on, I joined the ends and carefully cut so the outside was completely flat
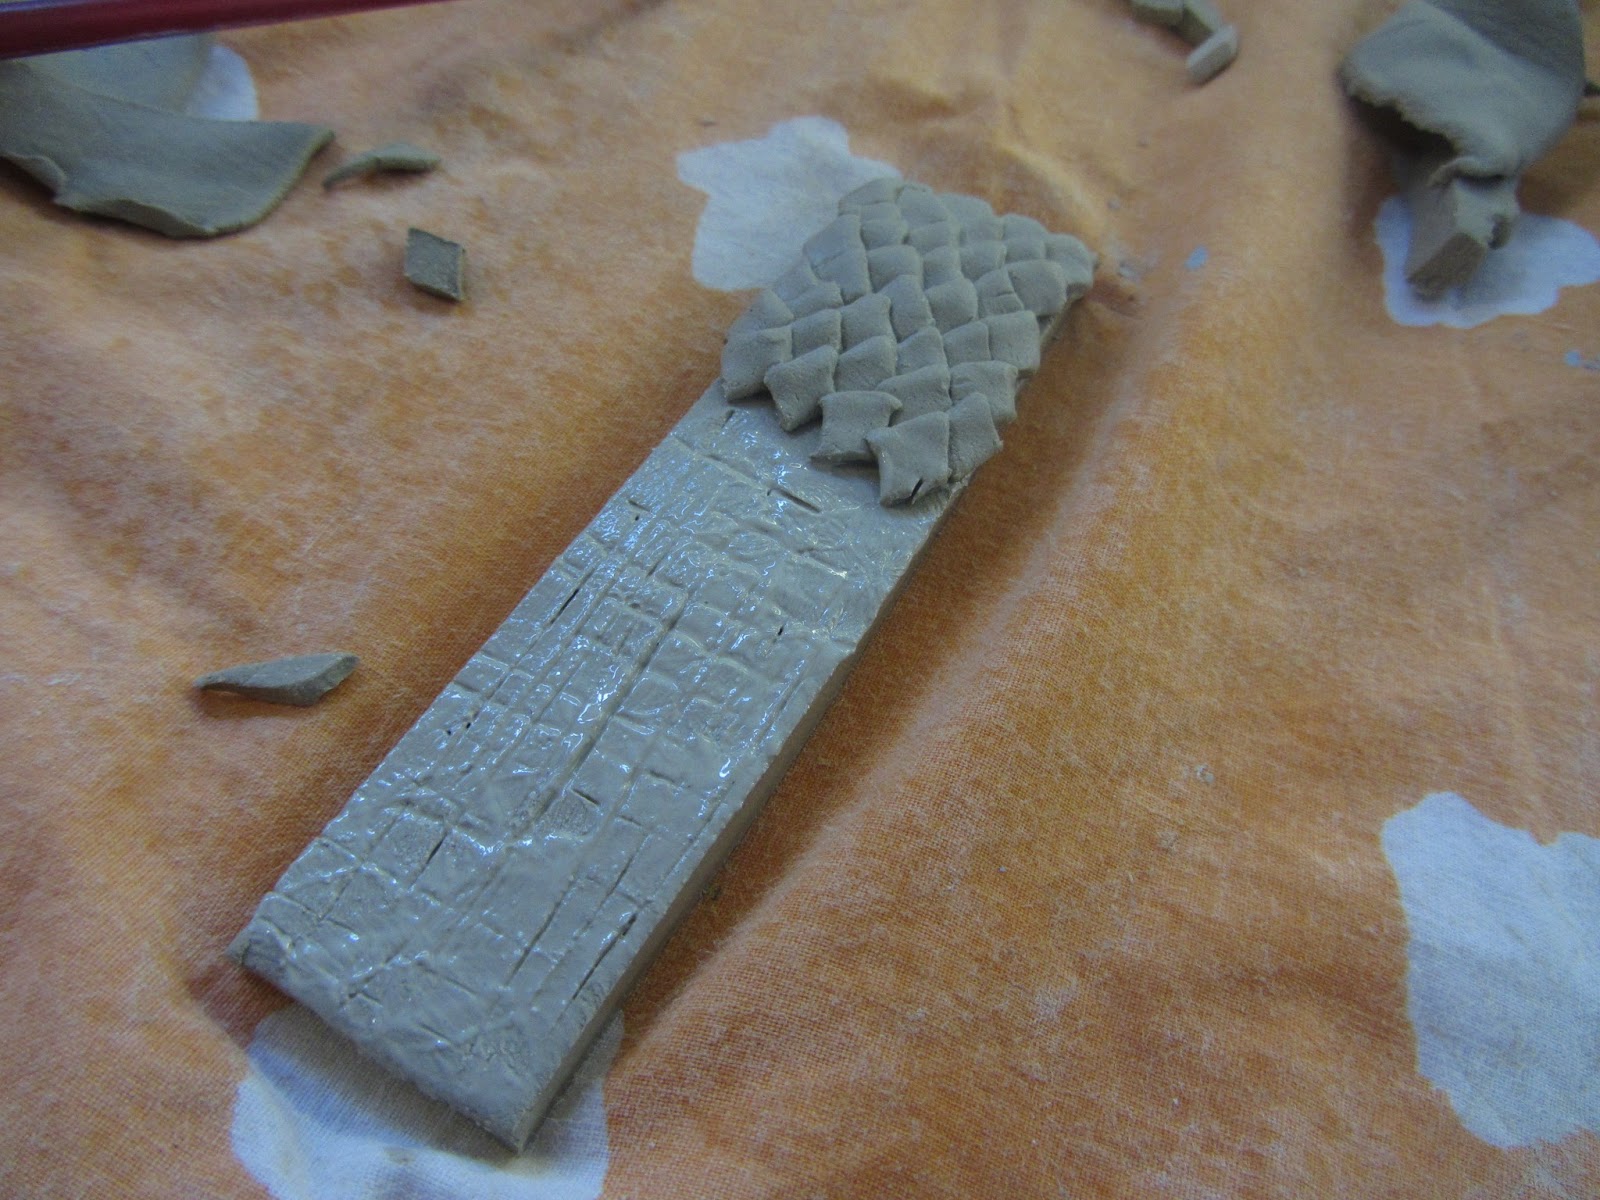
 This gave the inside edge a wobbly effect, which I quite like against the very clean line of the outside.

 My last bangle just had pattern painted on all around the inside, with the hope that when it is being worn, it will look completely plain and simple, and only the person wearing it will know what is on the inside.

Glasswork: After Firing

I think each of my glass pieces have qualities that I like, In this one, the confetti glass has melted on the top to give a slightly textured surface, and has created a fairly random pattern because of the way it melts. The two pieces with copper encased in them have also changed quite a lot, in that the copper has oxidised and has changed colour in the kiln, because of the heat. I quite like these colours, and also there are some tiny bubbles trapped with the metal which I think is quite an interesting feature.


In the one with pieces of black glass, the glass shards, which were squares and triangles to begin with, have melted and spread out to make quite interesting smooth, round shapes, but still have an obvious texture and stand out from the flat background. Also they are very shiny in comparison to the base piece.

Wire work with ceramics and textiles

I wanted to include a textile element in one of my ceramic pieces, and also use metal to create a mixed media piece.I decided to use brass wire, and I made the wire frame curved, so as to be a statement necklace. I made the frame so the textile element could be woven through and sewn on to the wire. I used the large ceramic piece as the centre piece, and had two smaller ones on each side. I kept the colour scheme neutral so the ceramic pieces stand out and are the focal point. I pleated and stitched parts of the ribbon to add detail without taking the focus away from the ceramic pieces. I may add further textile parts to it at a later date, but I don't want to make it too busy and spoil the subtlety of it.


Glasswork: pattern and texture


 I wanted to experiment with pattern and texture in glass, so I first laid small pieces of black glass onto a small sheet of clear glass, so there would be a texture when it came out of the kiln.
I also did the same thing but using confetti glass in different colours, inspired by snake skin. I used a very small amount of vaseline to make sure the pieces wouldn't move when it is being put into the kiln.
 I then started looking at encasing things between two pieces of glass. I did this with copper, because the glass gets very hot in the kiln, so things with a low melting point like plastics would not keep the pattern as I wanted. I cut copper into the shapes I wanted, to make zebra pattern and a repeating pattern of diamonds. I also used copper wire to make a handle so the pieces could be hung, or possibly be made into jewellery, although they would be very heavy to wear.
 I drew the pieces as they look before going in the kiln, so I can compare these pictures to how the glass pieces look after firing.


Tuesday, 16 April 2013

Ceramics: Natural pattern.

After a visit to West Midlands Safari Park, I started to think how pattern is used to hide animals in their natural habitat, and started thinking about how I could hide things in pattern, instead of hiding the pattern itself. I think this will make my jewellery a lot more patterned and decorative, but also keep the idea of hiding  something in it, so what you see at first is not all that it is, and the jewellery will be more special and valuable to the person who owns it. I first looked at the pattern on zebras, and how this helps them to hide and be protected from predators  I then thought how a zebra shape could be hidden in a patterned background, carrying on the stripes outwards.

I used a photo of a zebra I took at the safari park as a guide for the outline and stripes, then continued the stripes out, up to the edge of the piece of clay. when the clay was a bit drier, I carefully took the zebra shape out, then stuck the outside part onto another piece of flat clay with slip.

 This made a base which the zebra fitted in, and could be taken out like a jigsaw piece. I am planning to fire them with the zebra in, using a powder to stop it from sticking. Because clay shrinks as it dries, when it is fired, the thicker base part may shrink at a different rate to the zebra, so it may not fit exactly, so by leaving the zebra in it, I am hoping that this will be less likely.
I have made two small tunnels on the back, which will hold the weight of the piece, which I hope to use as the centre piece of a necklace. I have left a gap between them, to leave space for a small metal clip, which will hold the zebra in place. I hope to use oxides when it has been fired, to make the indented stripes black, and leave the more prominent parts white.