Showing posts with label silversmithing. Show all posts

Monday, 14 October 2013

Metalwork: Soldering and decorating the ring

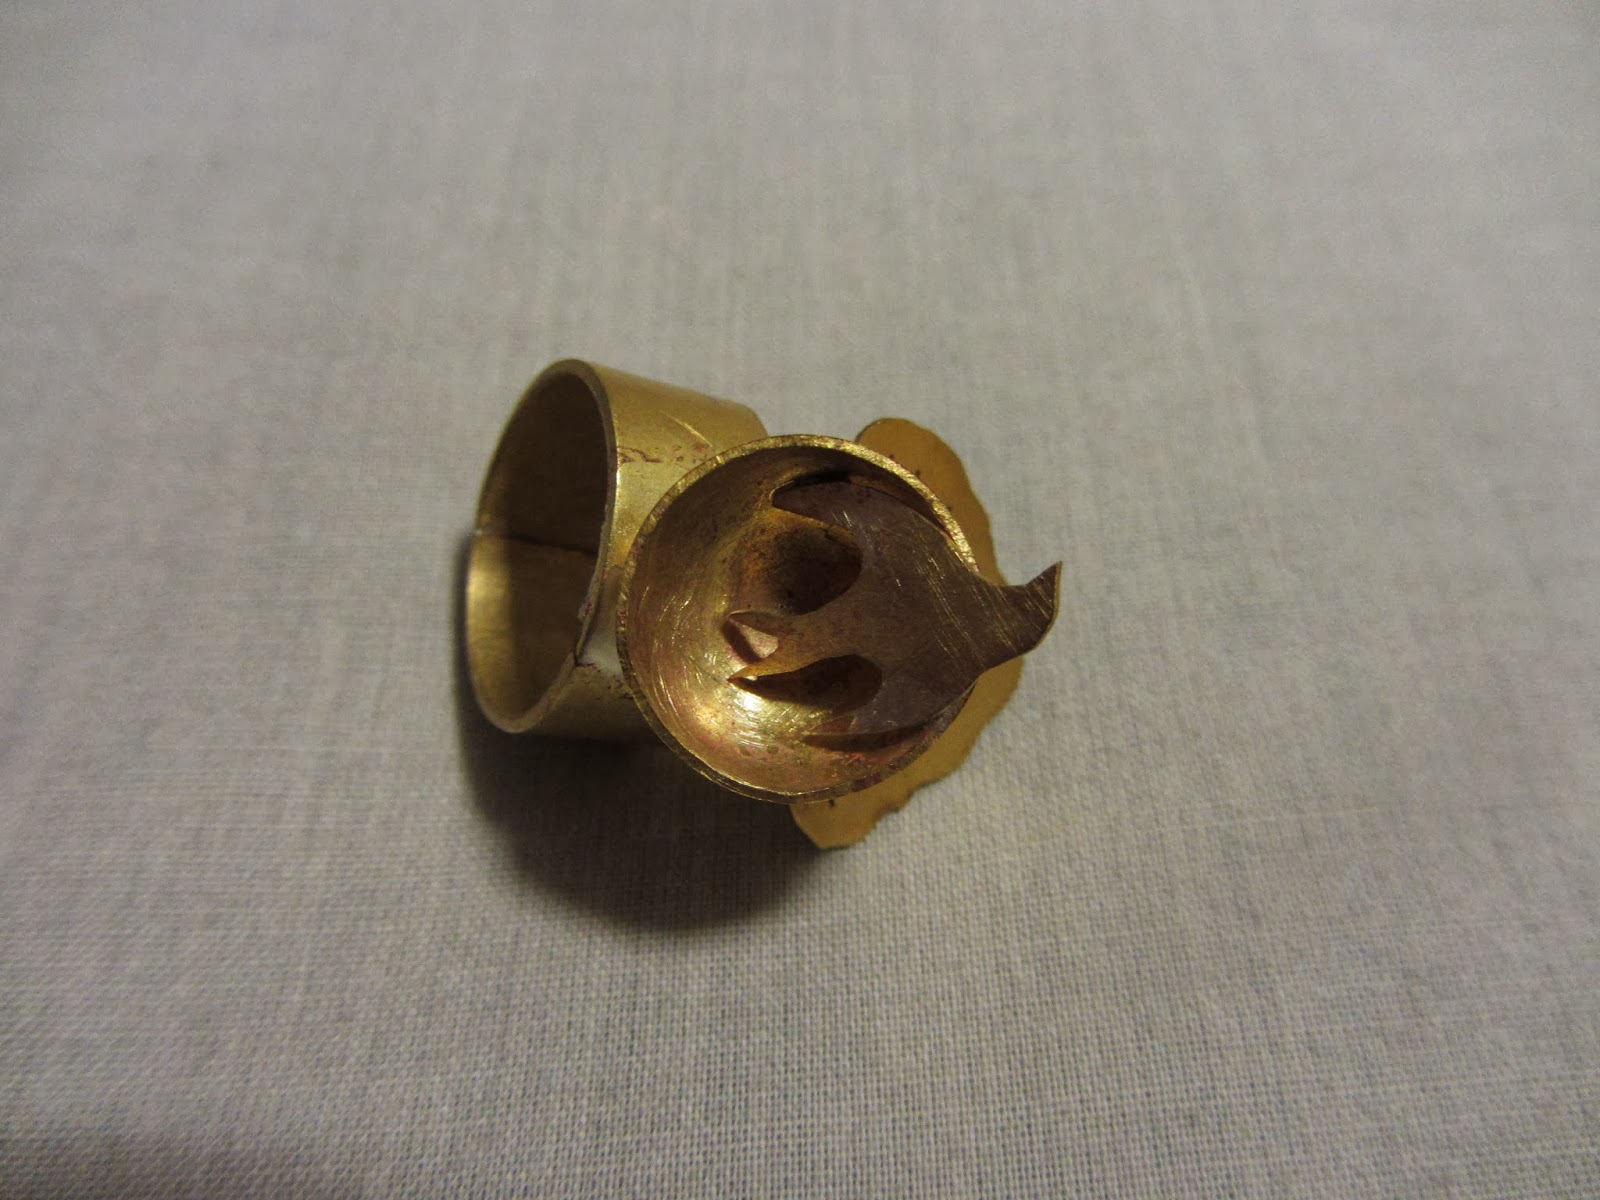
i decide my half sphere would be a birds nest, so i used a piercing saw to cut out the shape of a swallow. i first cut out the basic outline, then cut the 'v' out of it's tail. i had to be very careful on corners to make sure i didn't turn the saw too suddenly, which would snap the blade.
 I then cut out a tree shape, using cut lines to show the branches.

 I soldered all the pieces together, first soldering the tree to the inside of the ring, so it came out sideways, and then I soldered the bird into the nest. The next bit was quite difficult, because i had to solder the nest onto the ring, without disturbing any of the joints i had already soldered. i used the bricks to hold the ring and the nest in the right position while i soldered them.
 I quenched the whole ring and pickled it in the acid to take the flux off. This is the finished ring. I hope to polish it some more so the surface is more even and shiny.


Metalwork: making a ring and a half sphere.

Our first project in metalwork was a ring, with a half sphere on top, and another ornament or decoration of some sort. the first step was to cut a brass strip to the right size using a piercing saw. I used my finger circumference, then added the thickness of the metal multiplied by pi to get the length I would need for the ring to fit me. I then bent this around so the ends met, to be soldered together later. I then started on my half sphere. I drew a circle using a compass, and cut it out using the piercing saw.

I filed the edges to make them not as sharp. Then i had to shape the circle into a half sphere, or bowl shape. i did this using a doming block and punches. I moved from the bigger dents to smaller ones, so it got more domed as i went, and it got smaller.

I then soldered the edges of my ring together, making sure they were lined up well and had plenty of flux so the solder would flow in the right place. I then cleaned it in the acid to get all the flux off.
To make the ring round, I used a mallet and a ring stake to gently shape it without spoiling the texture of the metal or distorting it in any way.

Monday, 20 May 2013

Metalwork: Folding and using enamel

I started looking at how I could create some of the patterns I have been looking at, in a more three dimensional way, and experimenting more with materials instead of designing something and then making it. I wanted to try different techniques of making pattern and furthering my ideas that way, before deciding what jewellery or object the piece will be. I started looking at origami folding techniques, and looked at a jeweller, Lois Martens, who uses folding in her silversmithing.

I then started experimenting with folding copper, and I found a shape I liked, which had a cross shape through it.

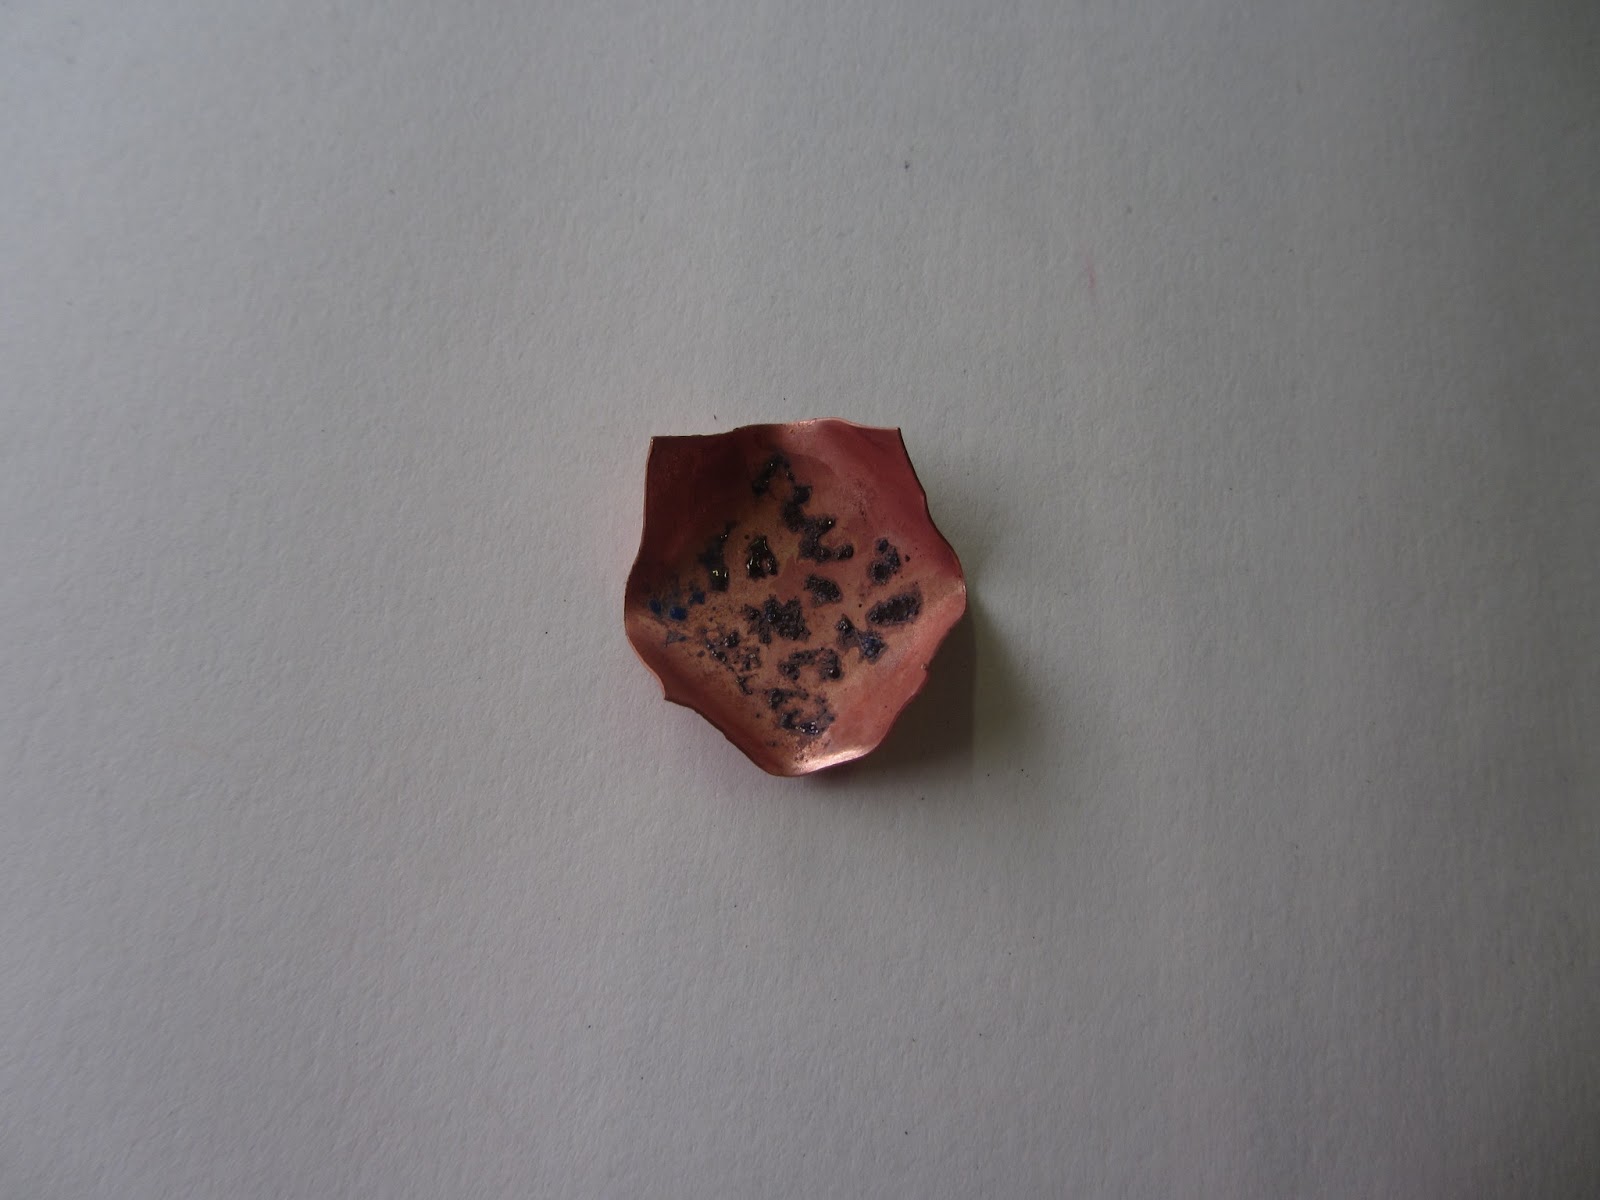
I then started thinking about how I could possibly decorate it, on the inside, so the pattern is only visible through the cross shape, I first thought about putting pattern onto the metal, before I folded it completely. I decided to try some enamel, but I only put it on the square part that shows through the cross.
I thought this worked very well, and was a good way of putting patterns directly onto the metal. I also tried putting paper squares into them with pattern on, and I found that looked good, but I think I would prefer a more intricate pattern on the paper, if it were to be made into a piece of jewellery.
I then decided to try some more enameling, because I think it has a texture and shine that contrasts well with the copper. I tried both putting pattern in the enamel, and some plainer ones, where I focussed on colour, rather than a regular pattern.

 To do this, I mixed the enamel with a little bit of water (keeping each colour separate) and used it like paint onto the copper. I did this with six copper squares, and left them for the water to dry before I heated them. The water has to completely dry out before heating, otherwise it would boil, and could cause the enamel to come off the piece. I used a blowtorch to heat each square until the enamel melted and went smooth and shiny.
I like using enamel because it changes when it is heated, and I find it very interesting to see how they look afterwards.
I folded the edges in before I put the pieces in the acid to get rid of the oxide on the copper.
I then put them together in a regular grid, so that it created another pattern of where the sides meet, and create little diamonds in a regular geometric pattern.


Tuesday, 2 April 2013

Metalwork: Making a brooch.

I wanted to make my piece of patterned copper 'wall' into a brooch, without just shoving a pin on it. I decided I wanted most of the pattern to be on the inside, so only the wearer knew it was there, and to keep the outside fairly minimal. I thought of what would be on a wall, like railings, and because the pattern was similar to patterns of paving slabs I have looked at, I also looked at what would be on floors, like footprints. I decided finally on drainpipes, because that would be a decorative way of attaching it to something, because a pin or a few pins could go into the pipes to hold it on. I also went out and did some observational sketches of how pipes fitted together, and how they were attached to the wall, to get ideas of how I could arrange the pipes on my brooch.


I decided to have one straight piece of pipe, and one bent, so I could have one long pin that would go all the way through the pipe, and not fall out. I soldered a bent piece of wire to the straight piece of pipe (it is solid wire not pipe because it doesn't need to hold the pin, and wire is easier to bend without miss-shaping it) and then made small loops from thinner wire, and used lead solder to join them on without melting the previous soldering.

 After polishing it in the tumbler, I super glued the brass pieces on so they would stay still while I was drilling, and centre punched each side of each brass piece so I knew where to drill.

I drilled the holes, then neatened them and made them a little bit bigger so the rivets would go through.

 The rivets are decorative on the other side, so it will still look nice when worn so that the main pattern is hidden.
I wanted the pin to go through the pipe, and hold on to the garment at both the top and bottom, so it would hold on securely.
 I used a piece of wire, and melted the end so there was a small blob, which would stop it going through the fabric. I also curved the wire slightly, so the tension would keep it held in the right place.


Sunday, 24 March 2013

Metalwork: Creating pattern on copper


 First, I used punches and a hammer to create a pattern, based on the pattern found on brick walls and paved floors. I was careful to make sure the grooves were continuous and all the same depth. I then used a wooden mallet to make sure it was flat without distorting the grooves.
 I painted on flux, and then heated it up with a blowtorch and touched solder to the surface. Unfortunately, it didn't spread out, it just stayed as a large blob in the corner, which is not what I wanted.
 I then pickled it in the acid before adding more flux (lots and lots of flux) and heating it up again. Thankfully, this time the solder spread out and covered most of the surface. I thought about putting more solder on, to cover all of the pattern, but I decided to leave some of the indents solder-free, because it reminded me of when cement falls out of walls, and I quite liked the look of it.
 I pickled it in the acid again before using the linisher to take the solder off the surface of the copper, so that the solder was only left in the grooves and it left a flat surface.
 I then used wet and dry paper to remove the tiny scratches the linisher had left, before buffing it and polishing it. I like this outcome, because the pattern is flush to the surface, and at first you only see the grooves in the corner, then you have to look closer to see the rest of the pattern.