Showing posts with label paper model. Show all posts

Sunday, 16 December 2012

Design visualisation: observational drawing and modelling.

I decided to use a glove as the base for my observational drawing, to link with my theme of trace elements. A glove is often something people lose without noticing, if it falls out of a pocket, and it is a trace of the person who has been there.


I started off by using a graphite stick and pencil to do some quick sketches of the glove, in various different sizes and positions. I then used ink and collage to work into my drawing, to highlight interesting patterns and shapes.
I also did some separate quick drawings, to try to capture some of the different tones and shadows in the glove. 

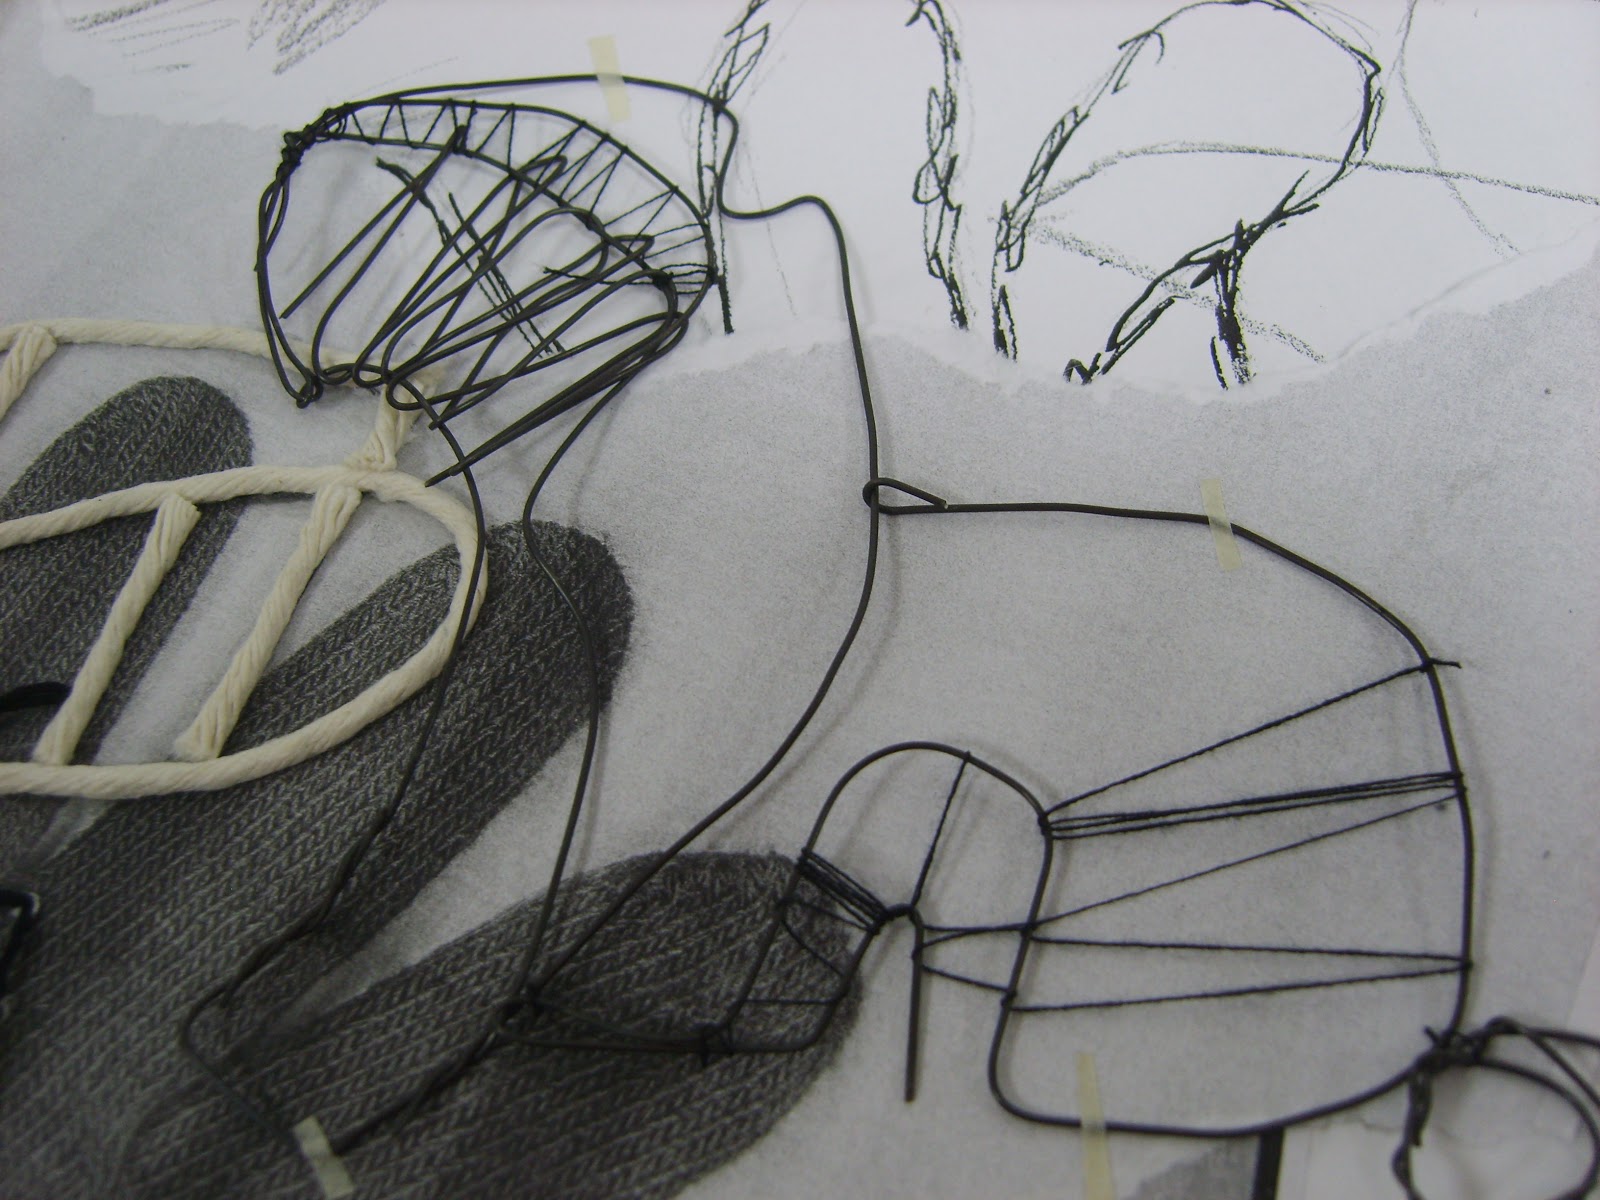
After this, I started picking out some of the interesting patterns and shapes to make in wire. I found it difficult to bend very tight angles in the wire so some parts were more curved than I hoped they would be.

I then started to use black thread with the wire to create different thicknesses of lines, and some sharper angles. Some of the wire bits didn't look at all like a glove, but I found this was a good way to generate ideas from everyday objects, that could be used for jewellery or a printed pattern.

  After this, I started using collage, string, masking tape, sewing, and photocopies of the glove to create small object, taking ideas from my first drawing.


Saturday, 15 December 2012

Design visualistation: Observational drawing and modelling.

 For observational drawing, we were focussing on organic forms, so I chose this item, which I guessed was some sort of fruit, because I liked the repetitive nature of the surface,and the fact it is not one shape, but lots of little shapes that join together to make a whole.
 I used paper and masking tape to create cone shapes, and cut of the tops to emulate the shape of the fruit. I then used the cut off pieces to make smaller versions of the cones, and cut their tops off too. I attached them together with wire and thread.
 I then thought of using thread to draw with, so I stitched a simplified outline of some of the detail. I think this is quite effective, and would make a good pattern to repeat and use as a textile print or wallpaper.
 I used a barbecue skewer and ink to do a line drawing of the whole object, which created very thin lines and quite expressive lines because I was holding the skewer near the end.
 This drawing is a lot bigger, I wanted to show the end of it, not the side. I quite liked using the chalk, but it was hard not to smudge it when I was drawing other parts.
I think this one is my favourite drawings, it is a drawing of my larger paper model (top left corner), so I collaged some of the same paper onto the drawing, and also used chalk and ink to create the shading. I did the drawing on top of tissue paper, so there was a texture to the background, and I think all of this together makes it a very successful drawing.

Sunday, 11 November 2012

Fashion: 3D modelling


 In fashion, we were looking at shape, rather than trying to make a garment that fits to the body. To create the shapes, I used a pattern piece for a sleeve, and drew around it, then overlapped the same shape over the top, and kept slitting the piece and pulling it out, to create interesting patterns and shapes. I used the photocopier to make some of the shapes bigger, to make them have more visual impact when I pinned them on the mannequin. I think some of the best designs came from when I experimented pinning the shapes in places that weren't obvious, so not to make a garment, but put them in more unexpected places. I found this gave more interesting results.


Saturday, 22 September 2012

More paper models.


One of the reasons I chose my object in the first place was because I found it interesting that the middle part (the green bit) spins, so I decided to make a model to try to capture that. I wanted to show the roundness and movement, so I used scoring and folding to make a shape that I thought conveyed this. I started with  a quarter of a circle, and scored curved lines on both sides then folded it. to get it to spin, I wrapped the end around a metal pole, and threaded it through a slit in the other side so it was secure, but could still move around the pole. I made more of the same shape and put them in size order on the pole, with some going opposite ways.

I think the photo looks as if it is a snapshot taken when it was spinning because of the way the pieces curve. I also like how it looks very organic from the top.
  I made another to go with it, using the same method, but with semicircles instead of quarters. This meant there were no straight edges like on the first one. I liked how this captured the shape of the object better, but it didn't seem to me to have as much of a sense of movement as the first one. I think this might be because the pieces are thinner so they don't overlap as much.

   Once I had made these, I thought that they would make good lamps if a small light was placed under each of the paper petals, or they could be sculptures, put at either side of a doorway.

3D paper models

We used the same objects for our paper models that we used for our ink drawings. The aim was not to make a model of the object itself, but one inspired by it. One of my favourite parts of the object was the little screws on each end, so I decided to try to make a model which incorporated that spiral.  I decided the base of it would be a cylinder, and I wanted the screw thread to come out from the cylinder all the way round. To make it one continuous spiral, I drew diagonal lines on my paper, so that the end of one line was level horizontally with the start of the next. I then cut slits and folded the paper so the lines stuck out, Similar to making a paper lantern. When I curled the paper into a cylinder and secured it with masking tape, the spiral looked like one continuous line.
I then started thinking about fastening it without using anything other than the paper itself. I thought the best way to do this would be little tabs one one side and slits on the other. I folded the tabs back on themselves inside the cylinder so they wouldn't slip back through.

  I realise my explanation may not have made sense to everyone, so I have made a colour-coded diagram of where each diagonal line on my flat piece of paper goes when it is made into a cylinder.


The end of the red line meets the start of the yellow line, the end of the yellow line meets the start of the green line, etc. Hope that makes sense!