Showing posts with label glove. Show all posts

Thursday, 27 December 2012

Ceramics: fired clay gloves.

 I really liked the colours the clay became when it was fired. I think glazing would make the colours more vibrant, but I didn't want to lose the texture on the surface.
Some of the small pieces got lost somewhere between being made and being fired, so some of the gloves are incomplete, but I don't mind this, because I have been looking at pottery shards, which are always a piece of something that was once complete.
For this glove, although it is only from one half of the mold, I had all of the pieces and was able to sew them all together, to reconstruct what it once was. My favourite part of this piece when I finished was not the look of it (although I do like the colours very much) but the sound it makes when you move it. It jangles when you pick it up, it sounds broken, fragile. I also think using the thread instead of wire or string adds to this sense of fragility and delicacy.

Sunday, 16 December 2012

Design visualisation: observational drawing and modelling.

I decided to use a glove as the base for my observational drawing, to link with my theme of trace elements. A glove is often something people lose without noticing, if it falls out of a pocket, and it is a trace of the person who has been there.


I started off by using a graphite stick and pencil to do some quick sketches of the glove, in various different sizes and positions. I then used ink and collage to work into my drawing, to highlight interesting patterns and shapes.
I also did some separate quick drawings, to try to capture some of the different tones and shadows in the glove. 

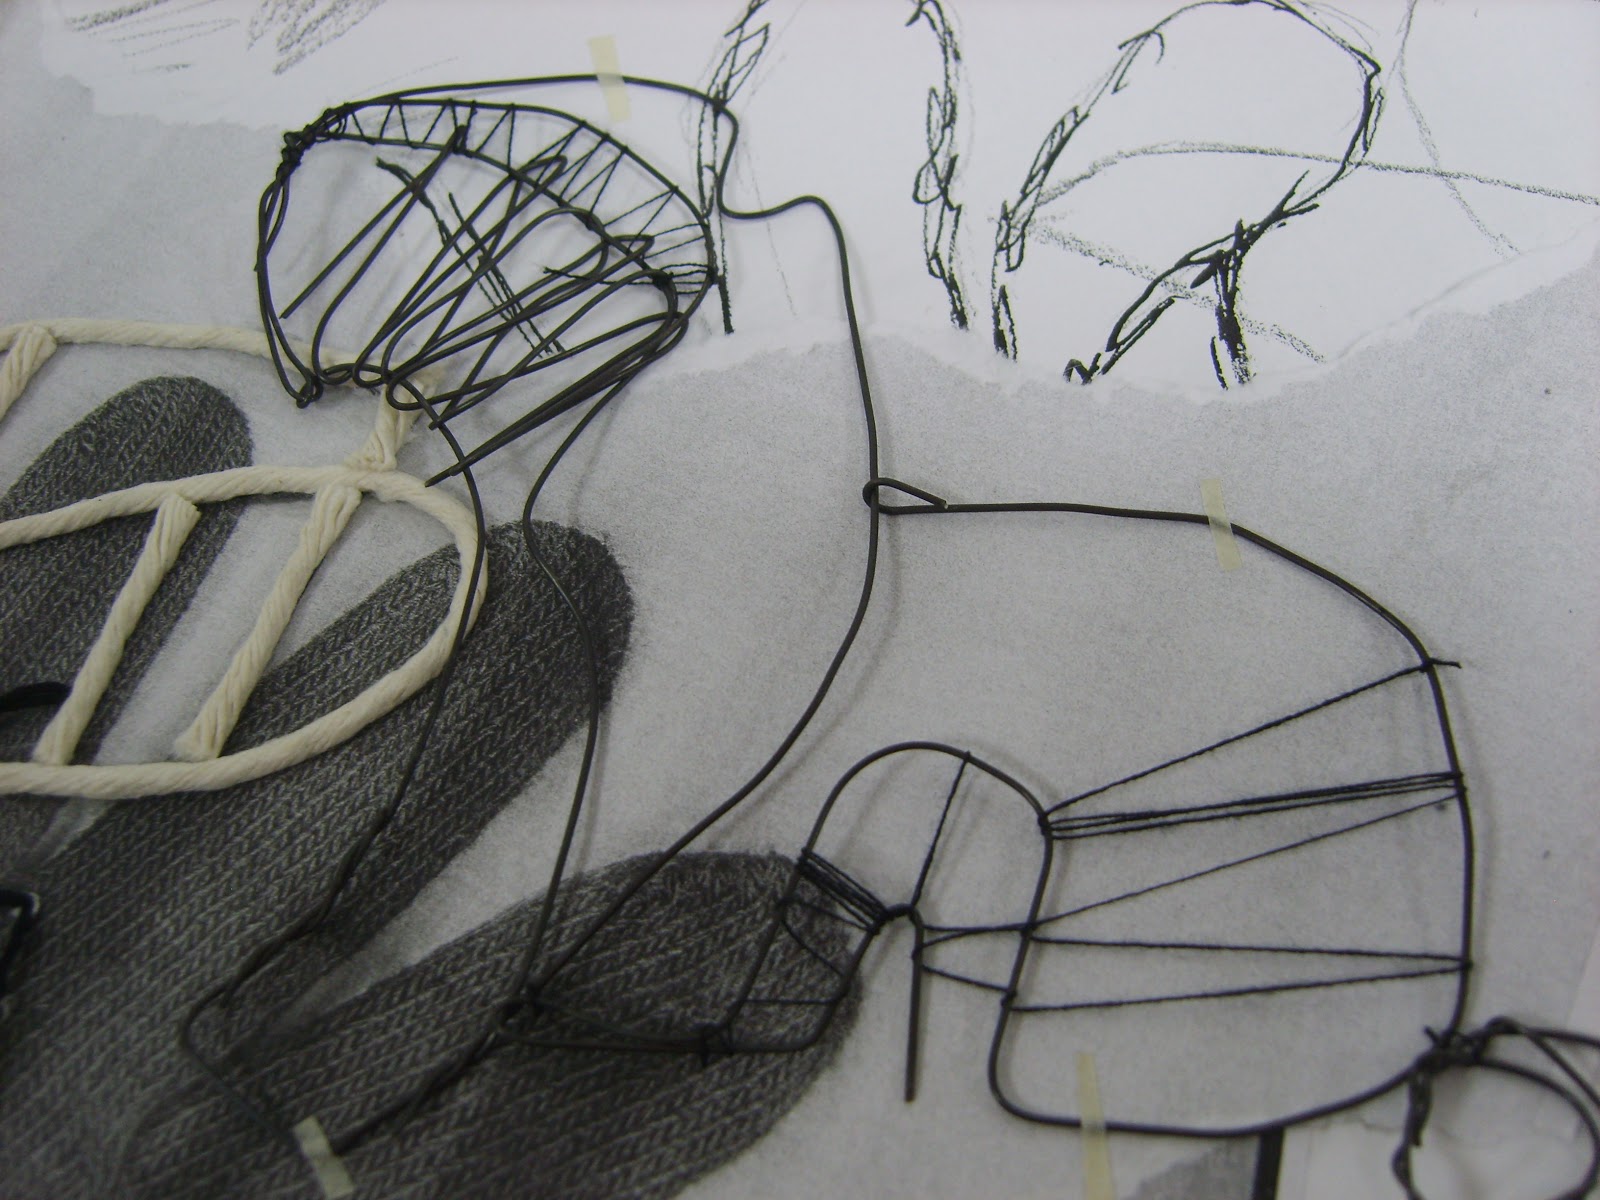
After this, I started picking out some of the interesting patterns and shapes to make in wire. I found it difficult to bend very tight angles in the wire so some parts were more curved than I hoped they would be.

I then started to use black thread with the wire to create different thicknesses of lines, and some sharper angles. Some of the wire bits didn't look at all like a glove, but I found this was a good way to generate ideas from everyday objects, that could be used for jewellery or a printed pattern.

  After this, I started using collage, string, masking tape, sewing, and photocopies of the glove to create small object, taking ideas from my first drawing.


Saturday, 15 December 2012

Ceramics: Making a plaster mold

 The first step to making a two-part plaster cast is to bury half of the object being cast in a slab of clay. I am using a glove, so I filled it with sand so it was more three dimensional. I then built clay walls around my slab, and poured in the liquid plaster. When the plaster was almost hard, I removed the clay walls and the slab from the base, but made sure the glove stayed in the plaster piece. I used a five pence piece to dig out holes in the flat parts of the plaster, then painted the plaster with soft soap, to ensure the second half wouldn't stick. I built up the clay walls again around the edge of the plaster piece and poured more plaster on top. I made sure to carefully scoop in the plaster, because if I had poured the plaster straight on top of the glove, it may have dented it.
 I waited for this half to dry a bit, before taking the clay walls off and using a rasp to smooth the sides of the casts, so the join was neat and could fit back together easily. I also scratched two lines on the edge of the cast, so it would be easy to fit back together when I was making my clay gloves.
When the plaster is fully dry, I will take the glove out and use the cast with my clay, and I can make a lot of clay gloves that will all be very similar, to use them in a series. I think the plaster will pick out the texture of the knitted glove very well.