Showing posts with label tin plate steel. Show all posts

Wednesday, 10 July 2013

Folded squares: Making jewellery

I started by setting out my copper squares with other types of squares to spell out words. I decided to use tin plate steel to make some squares, and I acid etched one side, so the inside was different when folded. I spelled out the word 'hide' using the braille alphabet
 I then decided to try some clay squares using the same folding method, but I found these were more curved because of the nature of the clay. I enameled the clay to show the cross pattern more clearly. I had to try to make the clay squares the same size as the metal ones, and this was fairly difficult because clay bends in a different way to metal, and it also shrinks during firing.
 I then decided that it would be better if there was a colour scheme, so it wasn't just random, so I decided to take the warm colours from the copper and brass, and use enamels in these colours on the clay squares.
 The clay squares on this one spell out 'unnoticed'. I stuck the squares together with masking tape to make sure they were lined up, before sewing them onto a fabric base. I stitched wadding inside the fabric, to make a padded base. I then sewed the edges together, to create a cuff.
 I tried to make the stitching as invisible as possible, so the pattern wasn't interrupted by the seam.


I used the same method to make two other pieces, a bracelet and a necklace, spelling out 'hide' and 'observe'


Sunday, 30 September 2012

Acid Etching

  One of my favourite processes we used was acid etching. I used an acid proof varnish to paint onto the tin plated steel, and waited for it to dry. Once it was dry, I painted another coat of varnish so it was thicker. When it was completely dry, I dropped my piece of metal into 30% nitric acid and waited for about three minutes.

  Once the visible metal had turned a dull grey colour, I took the metal out of the acid using tongs and put it in water. When I took it out of the water I had to dry it quickly so it wouldn't rust. I used methylated spirit to take the varnish off, which exposed the shiny metal that hadn't been exposed to the acid. There was a contrast between the shiny and the dull, but I wanted to create more difference between the background and the pattern.

   To make the background a different colour, I used a blow torch to heat the metal. As it heated up, the exposed steel changed colour, but the tin on top stayed the same. I had to be careful not to overheat the metal, or it would go too far past the colours and return to grey.

  The pattern of the tin stands out more on the coloured background, and the blowtorch creates interesting random patches because the heat is not constant over all the metal.

  On my cityscape, I held the heat on for too long, and as a result the background went past blue, to grey, so wasn't as dark as I wanted, but on my leopard print panel, I used the micro welder on a low setting, so I could control the heat better, and got the full range of colours, purple, dark blue, light blue, pink and straw coloured.


When you look very closely at the surface of the metal, the parts that have been corroded by the acid are not smooth, but have tiny dimples and a rough texture. I like this effect because it takes away all the properties people associate with metal, so it has the colour and texture of a different material.

Wednesday, 26 September 2012

Metalwork

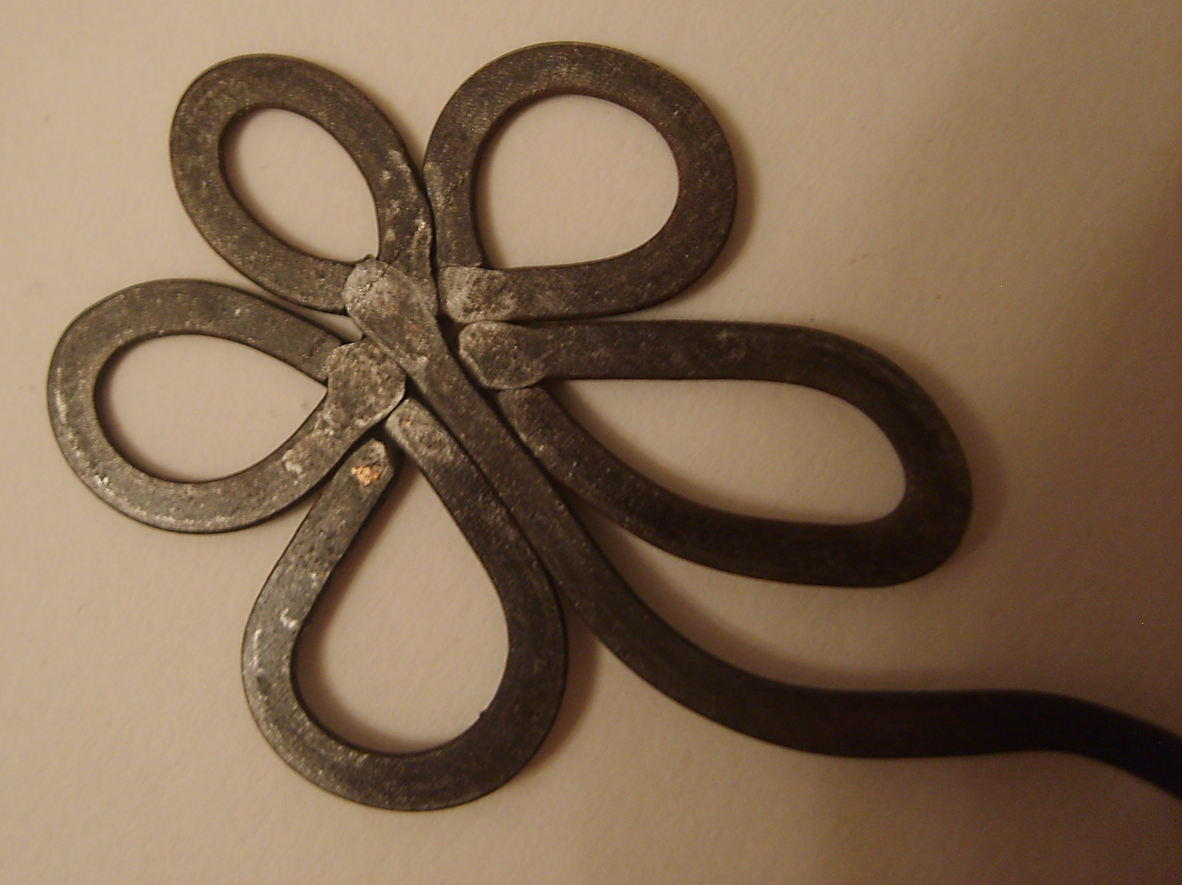
In metalwork, we were testing out different processes to add textures and effects to sheet metal. First, I made a small wire flower and spot welded the centre. I then bent another piece of wire into a wave. I used these to press the pattern into a sheet of tin plated steel. I liked the impressions these made, and the metal stuck out on one side and was indented in on the other.


I then spot welded the wave onto the flower, and added leaves to create a whole flower. I liked this effect but I felt the wires were quite messy where they overlapped. I decided to put the flower through the metal roller to make it a more uniform width. I think this flower was very illustrative, and could be made into something such as a bookmark or a piece of jewellery. I did the same thing with a cat shape, and curved the tail around to make it more 3D.

   Next, I tried hammering a piece of wire, to flatten the end. This created a sort of tear-drop shape on the end of the wire. it also made the end shinier than the rest of the wire, as the hammer I used was very smooth and shiny and this transferred onto the wire.


I then used a hammer with a round end on a scrap piece of tin plated steel to add a texture. I think this looks like fish scales as the marks are round and overlapped. I like the texture this gives because it makes it almost glittery because of the way the light reflects in lots of directions.


   Next I put a piece of tin plate steel through the metal roller. I had it on a very thin setting, and this made it pleat and fold. Before I rolled it out, I drilled some holes in it, and these were elongated by the roller. I also hammered one end of my strip, which made small marks like dashes on one end of my strip. I think this made the whole strip look like a river.