Showing posts with label nature. Show all posts

Sunday, 12 April 2015

Hot Glass: Moss

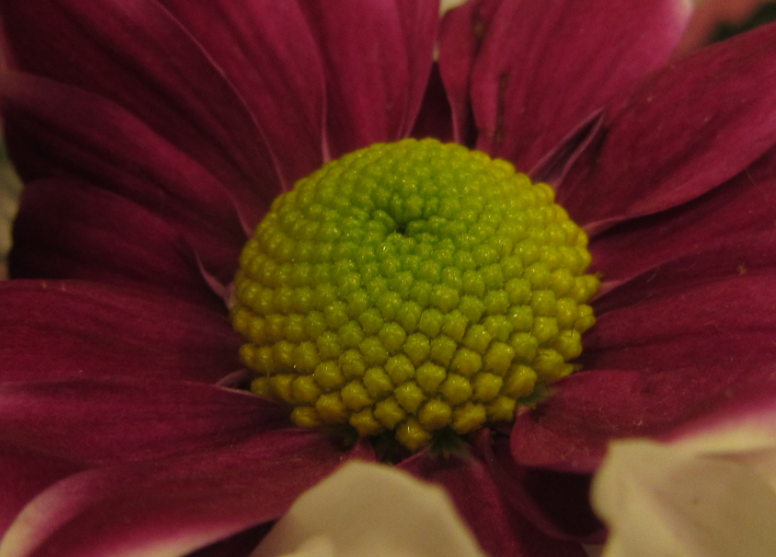
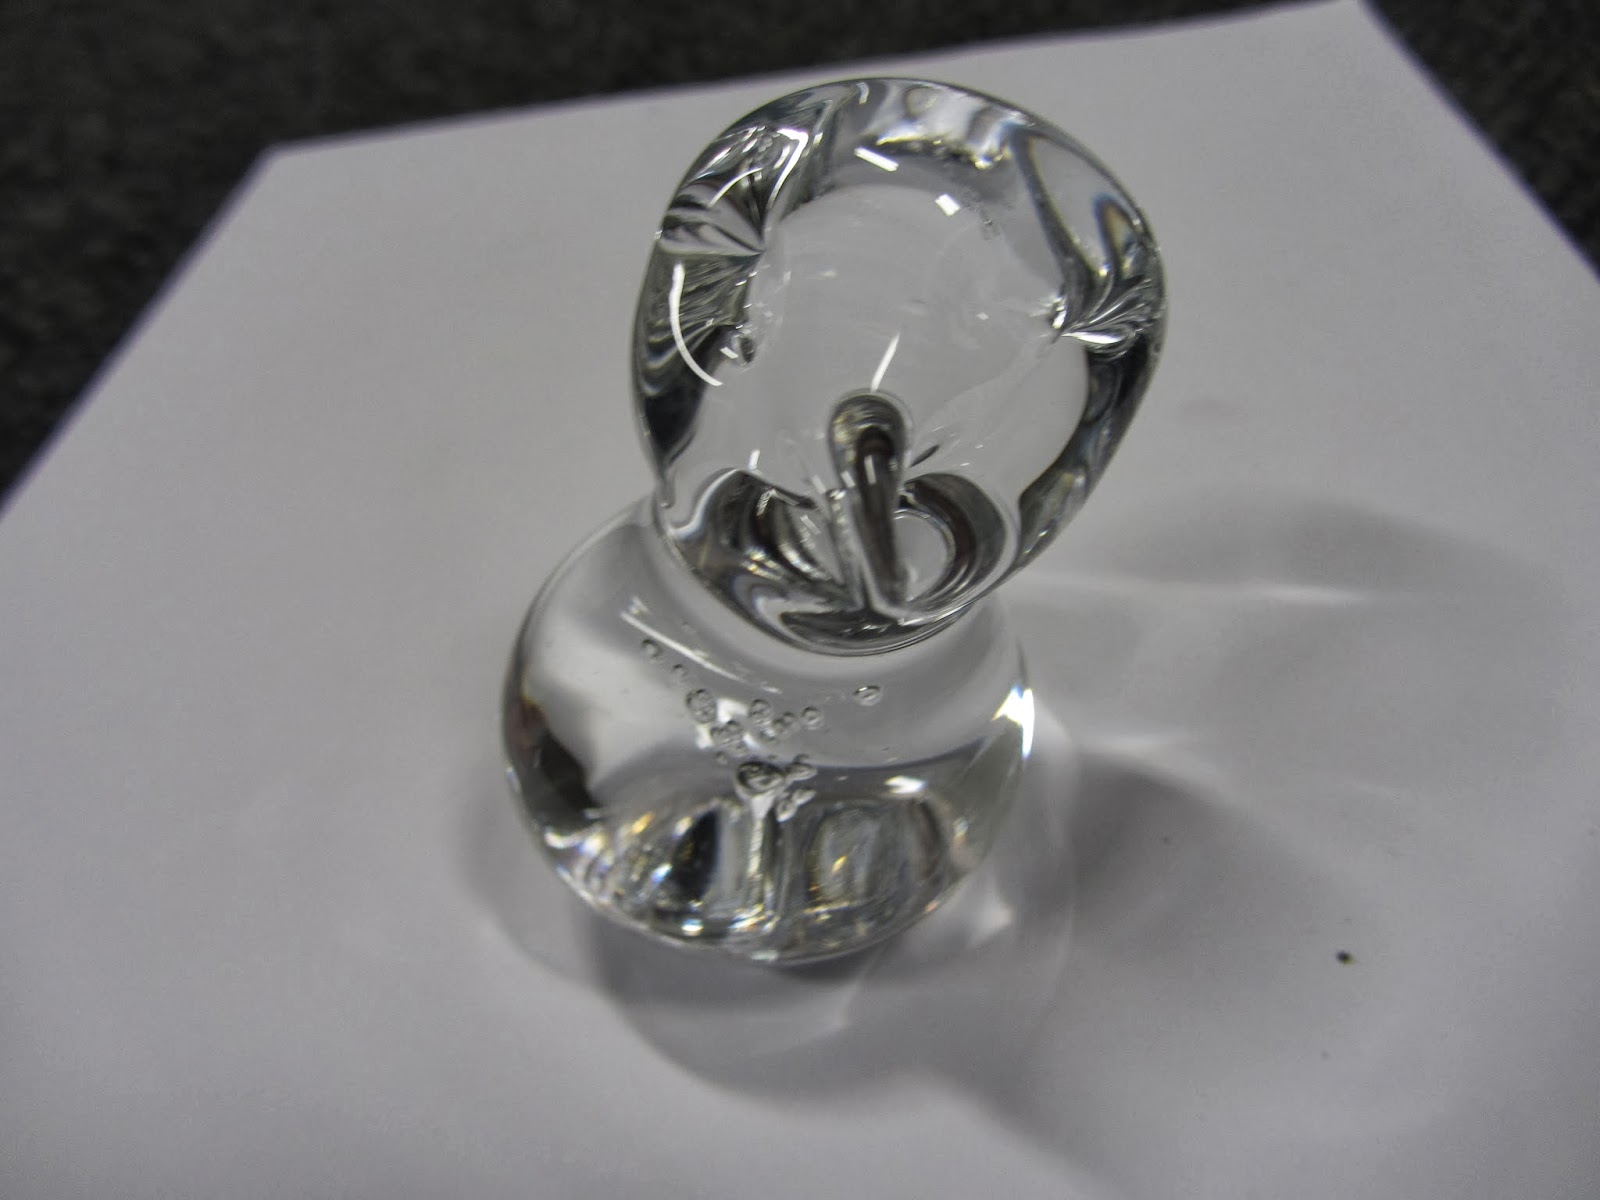
Inspired by the tiny bud shapes of this close up moss, I made a collection of glass shapes which are all slightly different but sit together.


I hope to make more of these glass pieces as both a way to improve my glass skills, and to make a piece to convey the idea of things in nature being similar, but never exactly the same.


Kiln Glass: Fusing

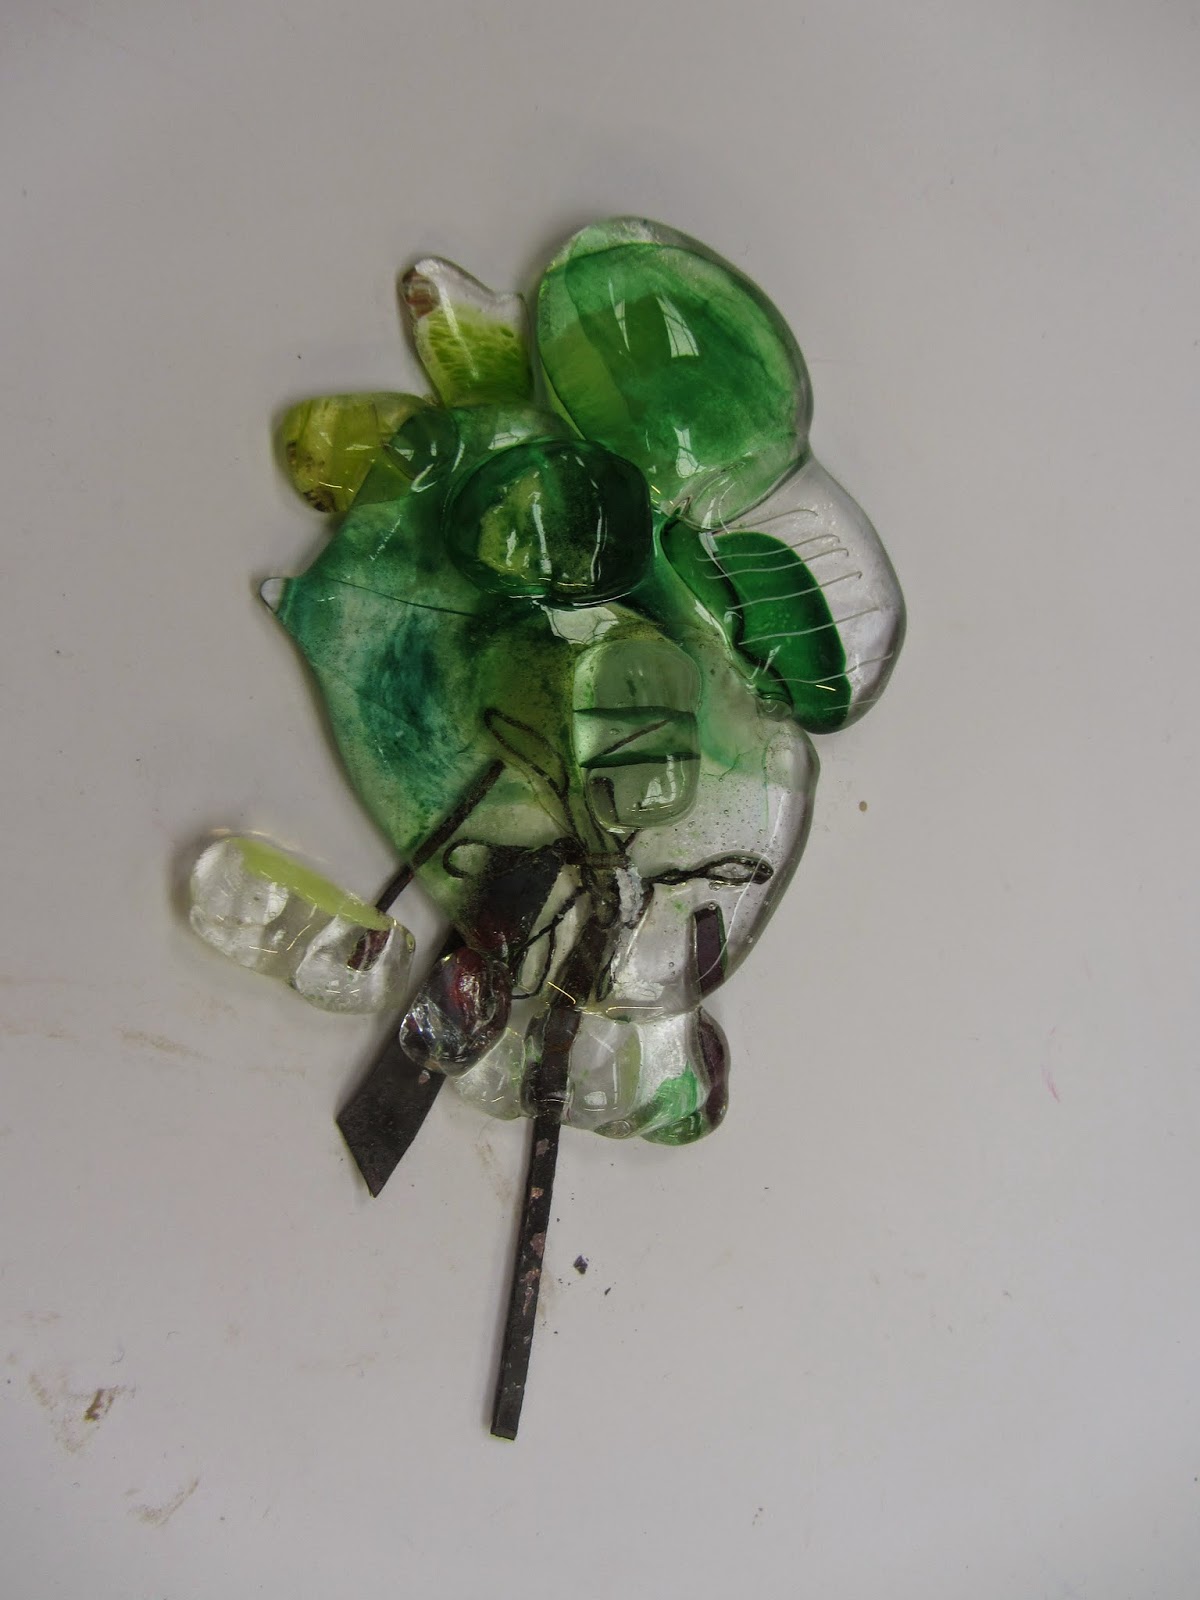
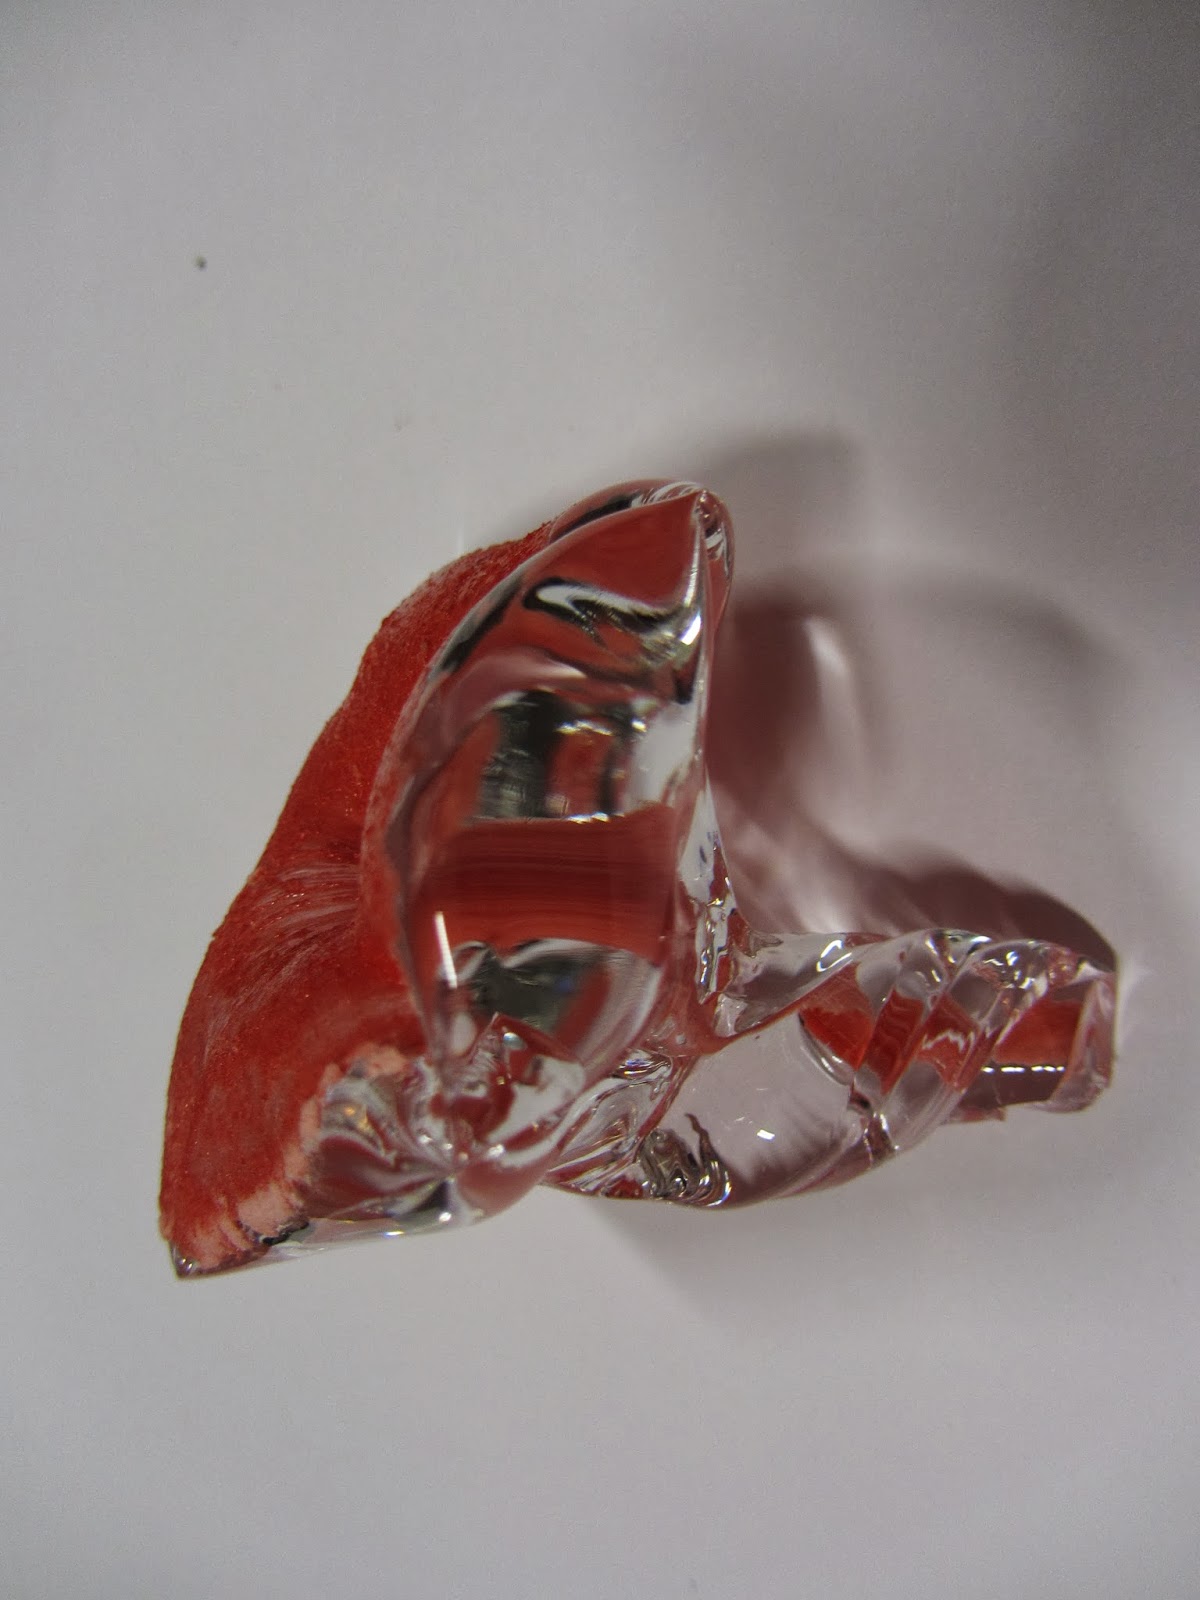
I collected green and orange glass from the hot shop scrap bins (clear glass is recycled but bits with colour are put in a bin which we can use for fusing, casting, slumping etc.) I chose to stick with this colour scheme as these are the colours of moss I have been looking at. I arranged the scraps on a kiln shelf which had been prepared with batt wash to stop the glass sticking, and to give them a smooth back. I arranged the pieces into shapes, and also put some bits of copper under the glass, inbetween layers and on the top, to see how it would react with the glass and the heat of the kiln.
These were just test pieces, but if i wanted to further this technique, I could make specific components in the hot shop, to then fuse together in the kiln. My favourites were the ones I made from the glass powder, as these had a more unpredictable texture, where the powder had melted and separated and left holes and gaps.


The copper worked well, changing colour to give different reds, maroons and black. I could cold work both the glass and copper, to put texture onto the glass or to change the colour of the exposed parts of copper to their original colour.


I feel that some of these pieces are fairly boring, as I controlled them too much. I think the ones that did something unexpected were good, as they made me think about where else I could take it, rather than creating a piece I was expecting.


Ceramics: Textures and Slab Building

 I tore bits of clay, and folded and crumpled them to try to create a texture. I wanted there to be an element of chance in the making, to give it that imperfect feel, the idea that nature always has very slight difference and imperfections.
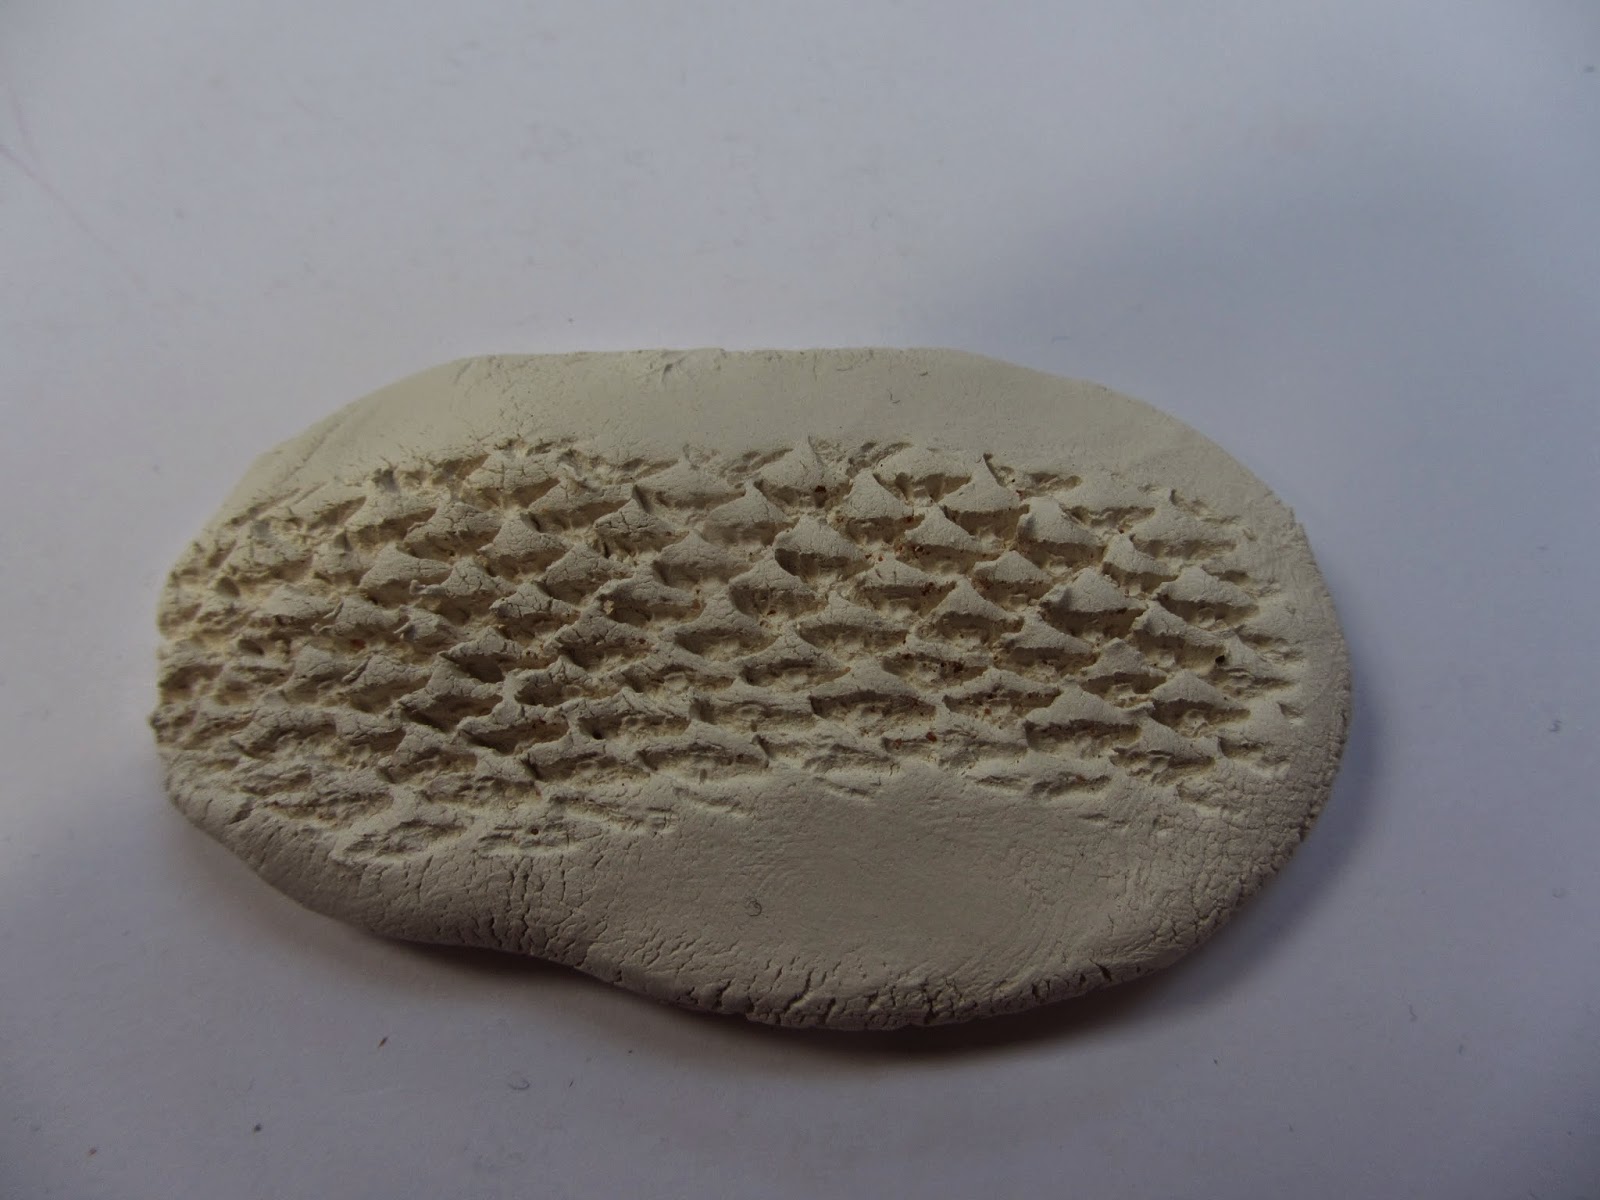
 I then used a small pine cone to make a texture in slabs of clay. I like the repeated pattern that this creates and the small repeating shapes.

For a 3D piece, I used slabs of clay and built them up in layers to create a form with leaves in a regular pattern. I think this works well to create larger pieces, and I could maybe put textures onto the slabs before building the form.

Monday, 30 March 2015

Observational Photography: Moss

I have narrowed down my research into nature to moss. I have found moss to be extremely interesting, as it is made up of such tiny pieces. Each one is different but they are very similar and there are so many of them making up a larger piece. 

Moss has also got a variety of different shapes, colours and textures, most of which are ignored or unnoticed.


Observational Photography: Geometry in nature

For my semester two project, I started by taking some photos of geometry in nature, especially sequences and symmetry. I picked this as a starting point as I really like making my art from observation, and bringing nature to peoples attention. At the start of a project, I enjoy being quite broad, to let myself go in different directions without being pinned down to a very narrow or specific theme.
 I want to look at repeating shapes, but also how these slightly change in nature and each one is ever so slightly different. This will link with the idea of sequence.


Tuesday, 19 November 2013

Glasswork: using hot glass

A snowball, made by spinning the glass in a hoop on the floor, to get air into it, and then the glass was gathered up and rolled into a ball using kevlar gloves.


I then had a go at gathering glass from the furnace, and using the jacks to cut into the glass, to create a blob which would snap off neatly from the iron.


I then made an icicle, by pulling the blob out with tweezers, and then sticking the end back on itself. I then put one side of the tweezers into the loop and twisted the iron whilst pulling out with the tweezers to create a long icicle.


I then made some flowers, a bird (or attempted to make a bird) and another small animal which i'm not sure what it is. I experimented getting used to using the tools and using water to make a weak part of the glass that would break off to get the piece in the kiln.


Tuesday, 8 October 2013

Glasswork: using cold glass.

This week in glass we were doing more work using cold glass. I designed and made a tile from two sheets of glass, with copper wire and copper foil inside for the decoration. I wanted to stay with the nature theme so I cut leaves out, and then used the copper wire and small pieces of copper foil to make it look as though it was windy, like the leaves were being blown about.


i washed and dried the glass sheets carefully, so as to not leave any marks on them, because the marks would stay there through the firing.
The tiles were put in the kiln on ceramic fibre paper, and were fired up to 810 degrees, so the glass sheets were fully fused together.

We then filled the moulds we made in the last session. for the half-mould, I filled it up to about twice its depth, because it needs more glass than it looks like it should to make up for the air in between the glass pieces.
these were then put into the kiln to fire, so the pieces of glass would melt and fill the mould. 

I weighed out the glass for my rose mould, using a glass:wax ratio of 2.55:1. my wax weighed 87g, and so i calculated that i would need 221 grams of glass. I weighed out 225, in case some of the glass stuck to the inside of the reservoir instead of all flowing into the mould. These were also put into a kiln, on ceramic fibre paper in case any of the glass overflowed and dripped onto the kiln floor.


Sunday, 6 October 2013

Glasswork: Steaming and carving the moulds

To create the mould for my rose, i had to get all of the wax out of the plaster to make the cavity i would then put glass in. I did this by putting the mould on top of a steamer (the same kind you use to take wallpaper off) which melts the wax, because steam is 100 degrees. the heat makes the wax liquid, which then runs out of the mould. this is one reason not to have any pieces sticking out so the wax can't get out, and the glass can't get in. any leftover wax could distort the shape and discolour the glass, so it is important to make sure there is no wax left in the mould.
 The wax came out of the mould and solidified underneath as it cooled.
 when no more wax was coming out of the mould, I flushed it out with hot water from the kettle, then cold. the hot water melted any remaining wax, and the cold water made it solidify again and float to the surface to be poured away. I repeated this until no more wax came out. I then put it in the drying cupboard.

I then carved into a plaster block to create a negative mould. i had to make sure it was deep enough to not snap if it were cast in glass. i used a leaf as my design, but simplified it slightly to make it easier for the glass to get into all the corners.


i carved the veins, so these will be stuck out when i cast it in glass.