I first put copper in glass by dropping a blob of hot glass onto a graphite sheet, dropping copper onto that, then putting more glass over the top to trap the copper inside. This works, and I then moved onto doing this in 3D rather than on a flat surface.
The technique was the same, the second glass layer is dropped on top, as if the glass with copper on is put back in the furnace it could easily fall off and contaminate the glass.
I used the same method to create a hollow form with copper inclusions and colour.
I talked to simon about getting texture onto the glass and he told me about prunts, which are stamps used on hot glass. I used a raspberry shaped graphite stamp to shape a blob of glass.
I think a collection of these could be a nice mini installation.
I then tried using real moss, and other bits of organic matter, to make imprints in glass. I dropped the glass on top of the pieces, which made them catch fire and smoke a lot, but the glass cooled quick enough to capture the texture before the plants burnt away.
Showing posts with label imprint. Show all posts
Sunday, 12 April 2015
Ceramics: Textures and Slab Building
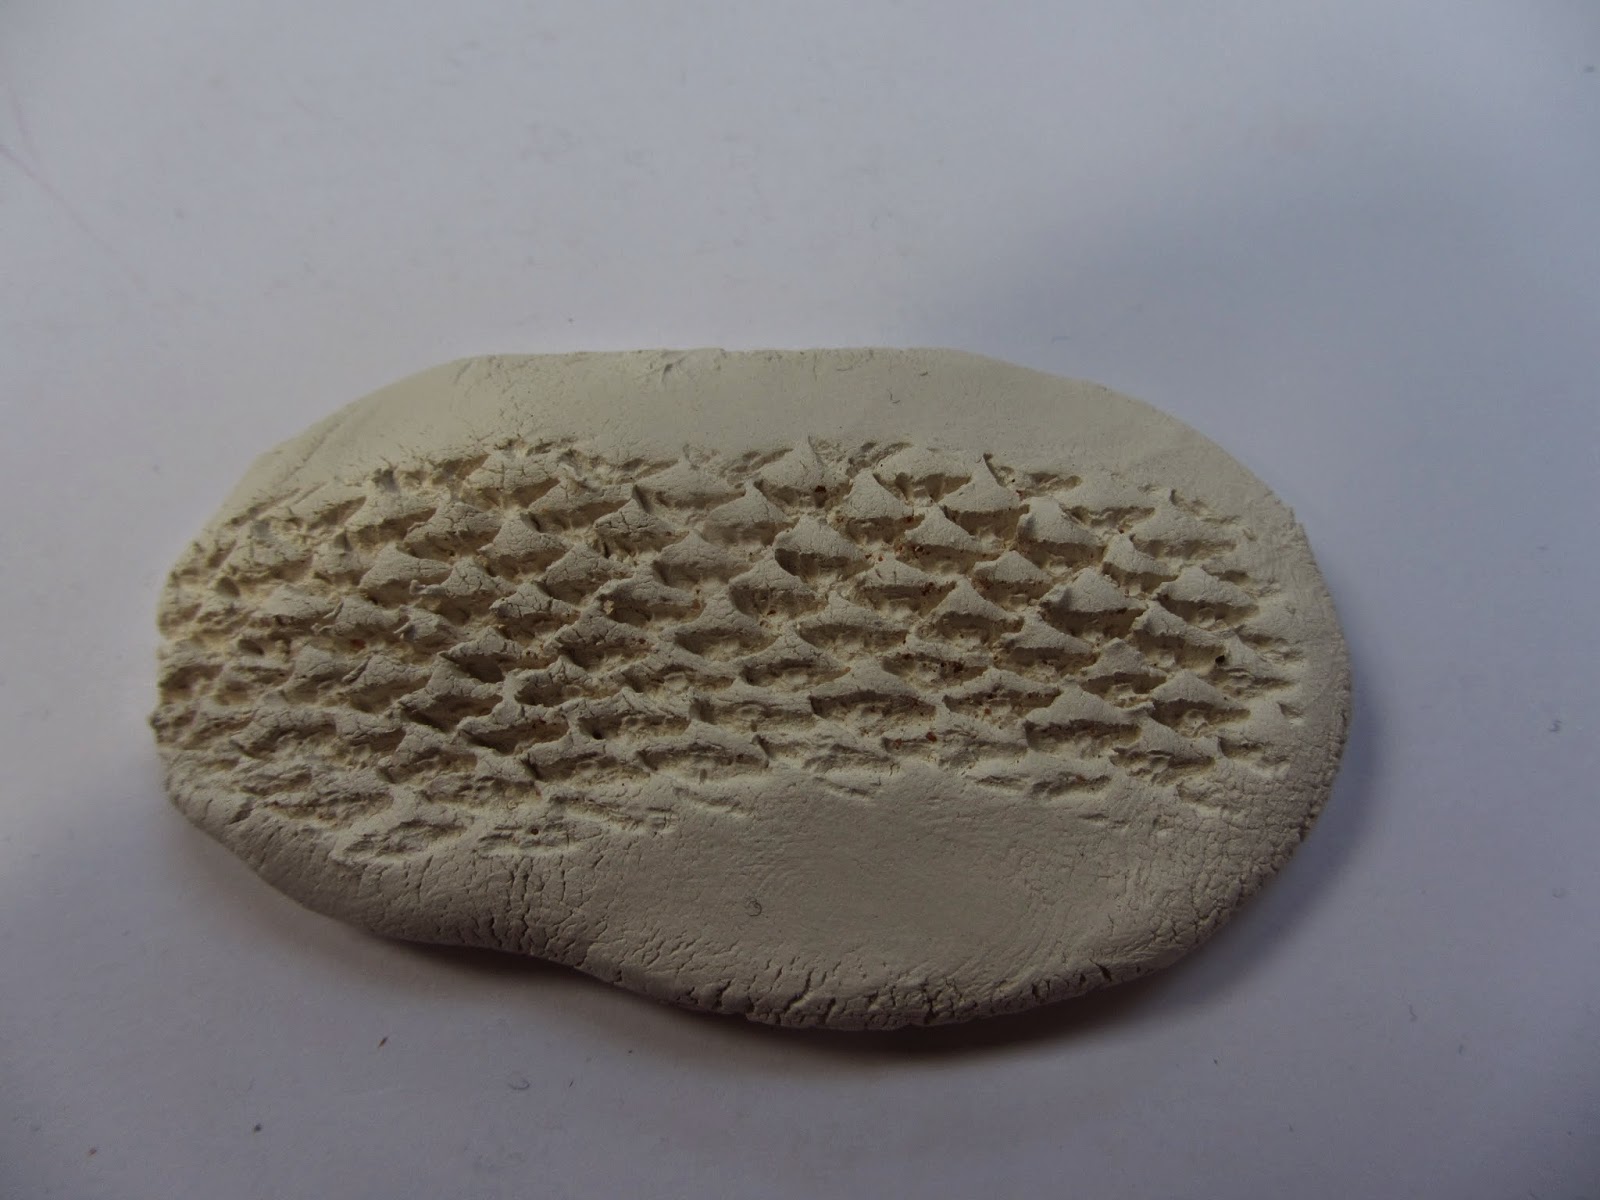
I then used a small pine cone to make a texture in slabs of clay. I like the repeated pattern that this creates and the small repeating shapes.
For a 3D piece, I used slabs of clay and built them up in layers to create a form with leaves in a regular pattern. I think this works well to create larger pieces, and I could maybe put textures onto the slabs before building the form.
Wednesday, 6 March 2013
Ceramics: Using marbles and enamel
I wanted to use other materials with my ceramics, so I used some of my marbles to put into circles and squares of clay, so that when they were fired the marbles would melt. As the glass cools at a different rate to clay, some of the marbles had cracked inside, which I think makes a very decorative effect. I also used some of the objects I have collected to make imprints in the clay. I then used enamel to add colour to some of the imprints. I added these clay pieces to the metal and recycled squares and circles I had made, to make a small collection of each.
Friday, 15 February 2013
Ceramics: slabwork.
First, I made 6 squares of clay the same size, and used my collected objects to imprint patterns onto the surface. I tried to make each square different, as I wanted all the sides of my cube to be a surprise, which you had to ppick up and turn around to find all the patterns. I mitred all the sides at a 45 degree angle, so the joins were not visible on the outside.
I used slip to join the edges and make them look neat, and also put reinforcements on the inside of the cube to strengthen it.
I next rolled out some more clay and made cylinders, to put together to make a repeating pattern similar to how I made the triangle.
I put marbles into the bottom of the cylinders, to hopefully melt and create a decorative abstract piece in the bottom of each cylinder. I have used marbles because I have lots of marbles and would like to make something new out of them.
Labels:
ceramics,
clay,
cube,
found objects,
glass,
imprint,
marbles,
melting,
pattern,
recycling,
repurposed,
slabwork
Saturday, 15 December 2012
Ceramics: Slab work and texture.
I used rubbings and photocopies to create a collage, and drew a rectangle on top, to show which part I was going to portray on my clay slab.
I have tried to make sure some of the lines were going diagonally to the edges of my rectangle, to make it more interesting.
To put texture onto my clay, I pressed it into a part of the wall that had ridges across, to try to get a similar texture to my rubbings.
I also used leaves, and rolled them into the clay to create very delicate imprints of the veins and outline.
I made a leaf imprint on a separate, quite thin piece of clay, and positioned it on top of a smaller piece, to make it more 3D. I curved up the edges slightly to make it look more like a real leaf that had just fallen off the tree.
My finished piece, just before it went into the kiln. I decided to cut the edges straight to contrast to the natural organic shapes of the leaves and texture pieces.
I also used some white slip to colour some parts, and I hope to add more colour or a glaze once it has been fired for the first time.
Subscribe to:
Posts (Atom)