Sinking is a method of creating a shallow bowl shape from a flat disk of metal, by hammering it against a dipped surface to shape it. I worked in concentric circles from near the edge to the centre, which stretches the metal in the middle and makes the dish shape.
this gives a good overall bowl shape, but leaves a very lumpy texture from the hammer.
once I was happy with the shape of my bowl and I had got it as deep as I wanted it, I started planishing it to create a smooth texture, but one which would still have hammer marks on. I used a round stake and a flat, shiny hammer, which meant the marks it left were shiny and even.
I used the same method of concentric circles to do this, so it would be even and wouldn't be misshaped.
Showing posts with label hammering. Show all posts
Tuesday, 19 November 2013
Thursday, 27 December 2012
Metalwork: Vessels.
In our skills building phase, we learnt two different ways of making metal vessels, both hand raising and spinning. The first bowl I made was hand raised using a hammer and a stake. I found this quite difficult at first, because the disc of metal was still quite flat and it was hard to get the sides to come inwards without creating pleats or changing the shape of the bowl. I had to anneal the bowl several times while I was hammering it, because working with the metal makes it harder and more difficult to shape. 
After looking at pottery shards, I started to think about how each of the shards had come from something, a pot or a plate, and I wanted to bring this theme into my metalwork as well as my ceramics. Using a piercing saw, I cut out an angular 'shard' shape from my copper bowl, and flattened it. I could then accurately copy the shape on to a piece of brass, which I reticulated to give it an interesting pattern and texture.I sewed this into the gap using wire, drilling small holes in both pieces to thread it though. I think this looks as if the bowl has been reconstructed from the shard, like an archaeologist would do.
I like the interesting idea of having a shard of metal. metal doesnt naturally shatter or crack, because it is malleable it would dent rather than break.
The next bowl I made was on the lathe, which gave it a very smooth surface, and a very regular shape because it was formed onto a block. I was pleased with how the bowl turned out, but I thought it was quite plain, and although I enjoyed the process, the outcome didn't really fit with my theme.
For this reason, I decided to follow the same idea as my first bowl, but with a process more suited to the material. I first thought of hammering or dropping the bowl, and then trying to mend the bowl in an interesting way, but after some thought (and some encouragement from my metalwork tutor) I let one of my classmates take the bowl, with the instruction 'damage it, but don't destroy it' This was so I couldn't decide how to fix the bowl before I damaged it, as I would not know what the damage would be.A few minutes later, my bowl was returned, looking far less shiny and new than it had previously. He had used a micro welder to melt through the sides of the bowl, so there were now gaps in them, and also blobs of metal on the inside.
I did some quick sketches of ideas to decide how to mend the bowl, concentrating on decoration, not function.
I then decided to hammer the middle part, in between the melted slits, to broaden it so the gaps were not as big. This also flattened the blobs of metal on the inside, some of them even fell off completely.
I then did some more sketches of repairs I could do to make sure the pieces do not come apart.I liked the idea of having round or oval bridges across the gaps, riveted in place on both sides, because this would be both decorative and unusual. I cut the ovals out of brass with a piercing saw, reticulated them, and drilled holes in both sides. I then used copper rivets to attach them to the bowl, doing one side of each oval before drilling the second hole in the bowl, so that they definitely lined up when I put the second rivets in.
The rivets are quite noticeable on top of the brass, and I like the detail they create, which wouldn't be there had I soldered the pieces on. On the inside of the bowl, only a tiny amount of brass is visible through the gaps, and instead of the rivets contrasting the colour of the bowl, they add to the texture of where the copper was melted.
I used powdered pumice stone and some liquid soap to give the surface a satin finish. I used a toothbrush to apply it, and followed the shape of the bowl where I could, so the brush marks went around the bowl and there were no harsh angular lines.
Saturday, 15 December 2012
Metalwork: Surface and texture
In metalwork, we are still in the skills building stage of our course, but I also wanted to link my experiments to my theme of things people have left behind, so some of my pieces include footprints and fingerprints.
Thumb prints made from varnish, which I then put in acid, so the surface was eaten away, but the parts with varnish on stayed shiny. I used a blow-torch to colour the rest of the metal, to contrast with the shiny tin.
The next technique I tried was reticulation, which is heating the metal until it almost melts, which forms a 'skin' on the surface of the metal, which crinkles and textures the surface of the metal. I like this technique but I found it quite difficult to do and accidently melted right through the metal at one point.
Next I used the metal roller. I used a craft knife to cut a fingerprint pattern from paper, which I then put onto the metal and rolled it, so the paper left an imprint on the metal. I think this is a good technique because it can create very detailed textures and patterns.
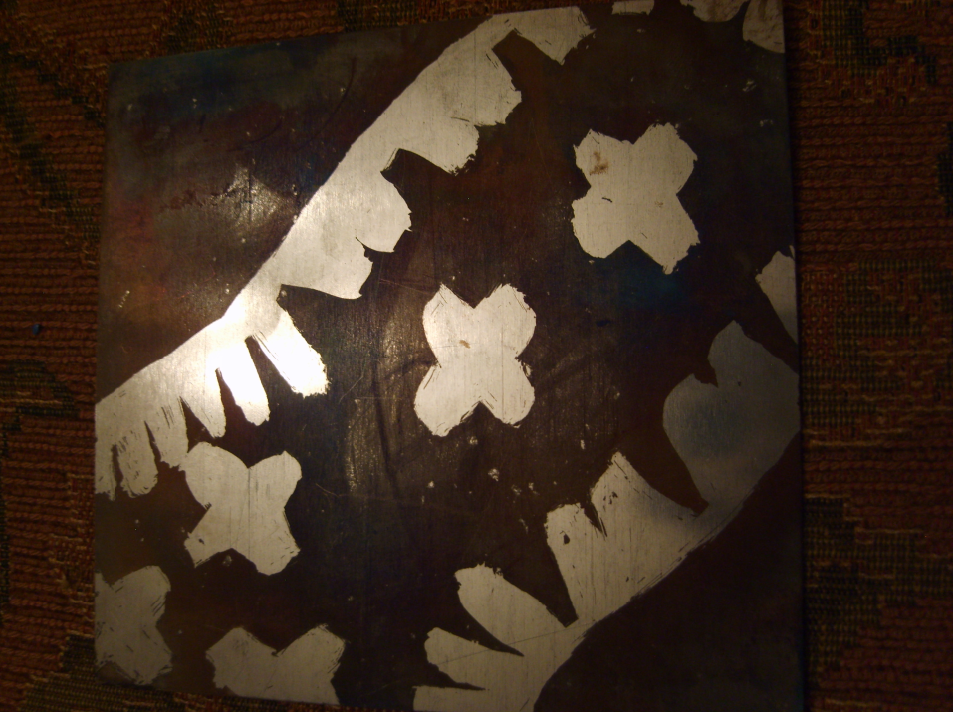
This is an acid etched piece, I used part of a footprint as the pattern, as if somebody had stood on it by accident.
More acid etching, but I hammered the metal before, so it is not smooth, but dimpled as well as patterned and coloured with the acid and blow-torch.
A lace imprint on tin using the metal roller. I have been looking at fabric/textile imprints in ceramics so decided to try in metal.
Using punches on annealed copper to create footprints, I like the very detailed patterns on some of the punches, and they reminded me of the tread patterns on boots so I tried to make boot prints.
More punching into copper, using a spiral that reminded me of an ammonite fossil. As well as a nice pattern, I feel this photo is also quite a good piece of art on its own.
Thumb prints made from varnish, which I then put in acid, so the surface was eaten away, but the parts with varnish on stayed shiny. I used a blow-torch to colour the rest of the metal, to contrast with the shiny tin.
The next technique I tried was reticulation, which is heating the metal until it almost melts, which forms a 'skin' on the surface of the metal, which crinkles and textures the surface of the metal. I like this technique but I found it quite difficult to do and accidently melted right through the metal at one point.
Next I used the metal roller. I used a craft knife to cut a fingerprint pattern from paper, which I then put onto the metal and rolled it, so the paper left an imprint on the metal. I think this is a good technique because it can create very detailed textures and patterns.
This is an acid etched piece, I used part of a footprint as the pattern, as if somebody had stood on it by accident.
More acid etching, but I hammered the metal before, so it is not smooth, but dimpled as well as patterned and coloured with the acid and blow-torch.
A lace imprint on tin using the metal roller. I have been looking at fabric/textile imprints in ceramics so decided to try in metal.
Using punches on annealed copper to create footprints, I like the very detailed patterns on some of the punches, and they reminded me of the tread patterns on boots so I tried to make boot prints.
More punching into copper, using a spiral that reminded me of an ammonite fossil. As well as a nice pattern, I feel this photo is also quite a good piece of art on its own.
Labels:
acid etching,
brass,
copper,
fingerprint,
footprint,
hammering,
metal,
metalwork,
punching,
reticulation,
tin
Subscribe to:
Posts (Atom)