Showing posts with label slip. Show all posts

Saturday, 28 April 2018

Creating Coloured Porcelain

I have been experimenting with adding colour into porcelain slip. I've decided to colour the clay body, rather than adding a glaze or coloured slip on the surface, as I have been creating 3D textured pieces which I feel would lose their definition if I covered them. To get bright colours, quite a lot of underglaze needed to be added to the porcelain, because the porcelain is white, so all of the resulting colours would be tints.

I decided to test the colours at different temperatures as well as different concentrations of colour. Starting at 1g of underglaze to 100ml of porcelain slip, I also tested 2g, 3g and 5g. I poured out the slip onto plaster bats to dry, then cut each into 6 sections to fire at 1000, 1060, 1140, 1200, 1230, and 1260 degrees Celcius. I felt like this would give me a good overview of how the firing temperature and concentration alter the colour.


I used Picasso blue, black, turquoise, and lime green underglaze powders, and I plan to start mixing my own colours now I have a better idea of how they behave at different temperatures and concentrations. I remembered to label them before I fired them because I've made the mistake before of getting a beautiful result and forgetting how I got there!


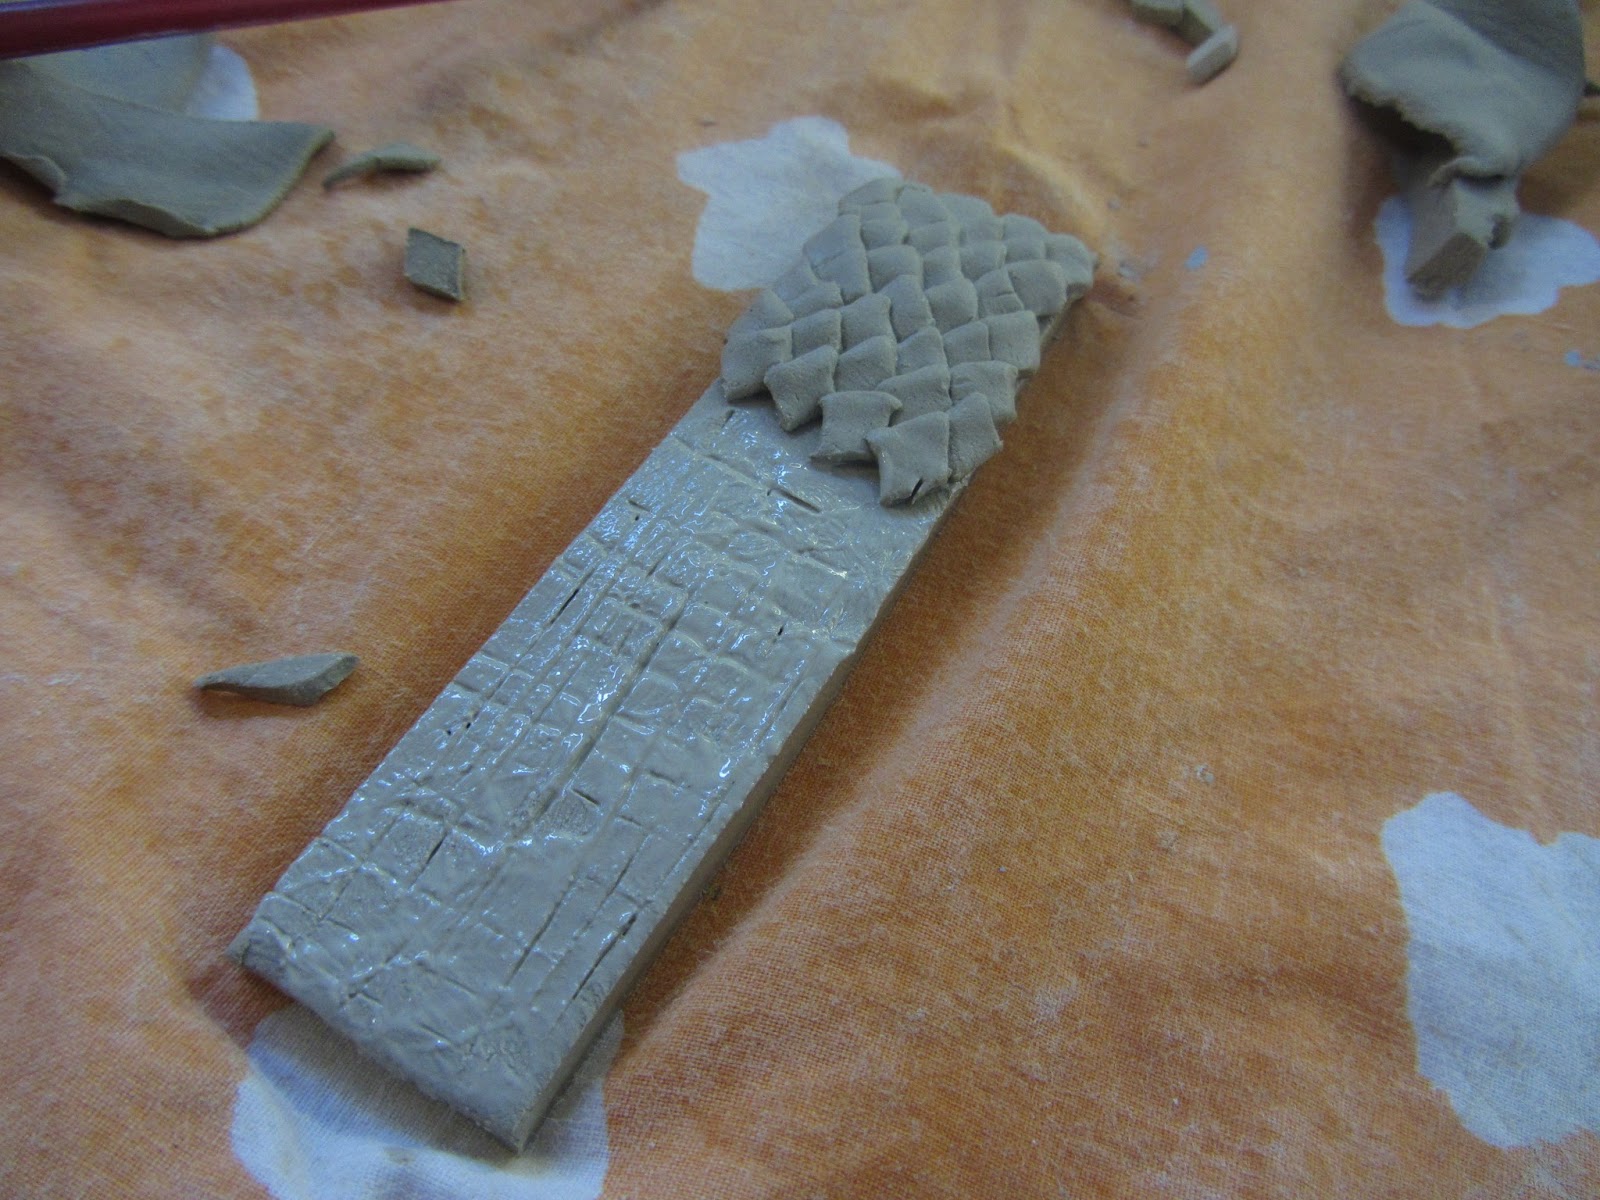
I will make some texture tests with the coloured clay to see how the surface works with the colour, and I will also try putting underglaze powders into plastic clay rather than slip, to see if a uniform texture can be obtained by wedging it into the clay.

Monday, 13 May 2013

Ceramics: Using coloured slip

I wanted to make a bangle, inspired by Erin lightfoot's ceramic bangles, but I wanted my pattern to be on the inside, Like the copper rings I made. I did this by painting patterns onto white clay using coloured slip, before making it into a bangle.

For my first bangle, I decided to use the diamond shape I have been looking at, and use these as a base pattern, and put other more intricate patterns onto these. I used different types of pattern I have been looking at, animal pattern, pattern from process and patterns which have another purpose.

I then used the same method of painting with slip, but onto smaller pieces, which I then made into beads with pattern on the inside. I tried to keep the outside as plain as possible to contrast with the patterned interior.
 I then wanted to experiment with putting texture on, so I decided to make a scaly, snake skin texture, because this used the same shape repeated so would make a regular pattern. Once I had put the texture on, I joined the ends and carefully cut so the outside was completely flat
 This gave the inside edge a wobbly effect, which I quite like against the very clean line of the outside.

 My last bangle just had pattern painted on all around the inside, with the hope that when it is being worn, it will look completely plain and simple, and only the person wearing it will know what is on the inside.

Saturday, 15 December 2012

Ceramics: Slab work and texture.

 In ceramics, we did slab work as part of our skills building phase. First I chose a square outside, to use to inspire my composition. I chose a part with leaves and the edge of a wall, so I thought this would have lots of different textures to experiment with and I really liked the contrast between the curved lines of the leaves and the straight sharp lines of the bricks.


I used rubbings and photocopies to create a collage, and drew a rectangle on top, to show which part I was going to portray on my clay slab.

I have tried to make sure some of the lines were going diagonally to the edges of my rectangle, to make it more interesting.


 To put texture onto my clay, I pressed it into a part of the wall that had ridges across, to try to get a similar texture to my rubbings.


I also used leaves, and rolled them into the clay to create very delicate imprints of the veins and outline.
 I made a leaf imprint on a separate, quite thin piece of clay, and positioned it on top of a smaller piece, to make it more 3D. I curved up the edges slightly to make it look more like a real leaf that had just fallen off the tree.

 My finished piece, just before it went into the kiln. I decided to cut the edges straight to contrast to the natural organic shapes of the leaves and texture pieces.

I also used some white slip to colour some parts, and I hope to add more colour or a glaze once it has been fired for the first time.