Saturday 30 March 2013

Ceramics: After glazing and firing.

I think the cabbage looks really good, because the stripes are straight when looked at from straight on, but the lines are wobbly when viewed from an angle.
I think this has worked really well with some parts shiny and some left matte, and also the very small detail with the larger pattern works really well together.

I think these squares worked really well, because they are so simple and not overly busy. I think together, the larger one in the middle and two smaller either side, would look good on a statement neck piece.
I like how this mosaic piece has turned out, the brown stain in between the tiles make it look old, like a roman floor.

The transparent glaze has worked really well on this woven piece. Because of the shine, I think it looks like a jewel, and the colours work well together.

I also like the matte piece, where the texture is the main feature and it is accentuated by the colours in the dents.
 I was a little bit dissapointed that the darkening of the orange red parts, which I was hoping to be more vibrant.
 I used the same colour on this piece, and this has come out a terracotta red, not the very dark brown that is on the edges of the diamonds. this could have possibly been because of the thickness of the glaze, or because it was on top of a glaze, so could not soak in to the clay.

Ceramics: Glazing the patterned pieces

 This is the cabbage textured piece, with stripes of lilac under glaze with transparent glaze on top. Because the piece is so small, I was worried I had put the transparent shiny glaze on too thick, and if it is too thick, it can come out cloudy or opaque, which would obscure the stripes, and possibly the texture of the clay piece.
 For my bigger woven piece, I used ceramic pencil crayons to draw a pattern on some of the clay strips, the pattern taken from knitted stocking stitch. I then used royal blue under glaze and transparent glaze on top for the other strips, so it will hopefully look like shiny threads and knitted threads have been woven together
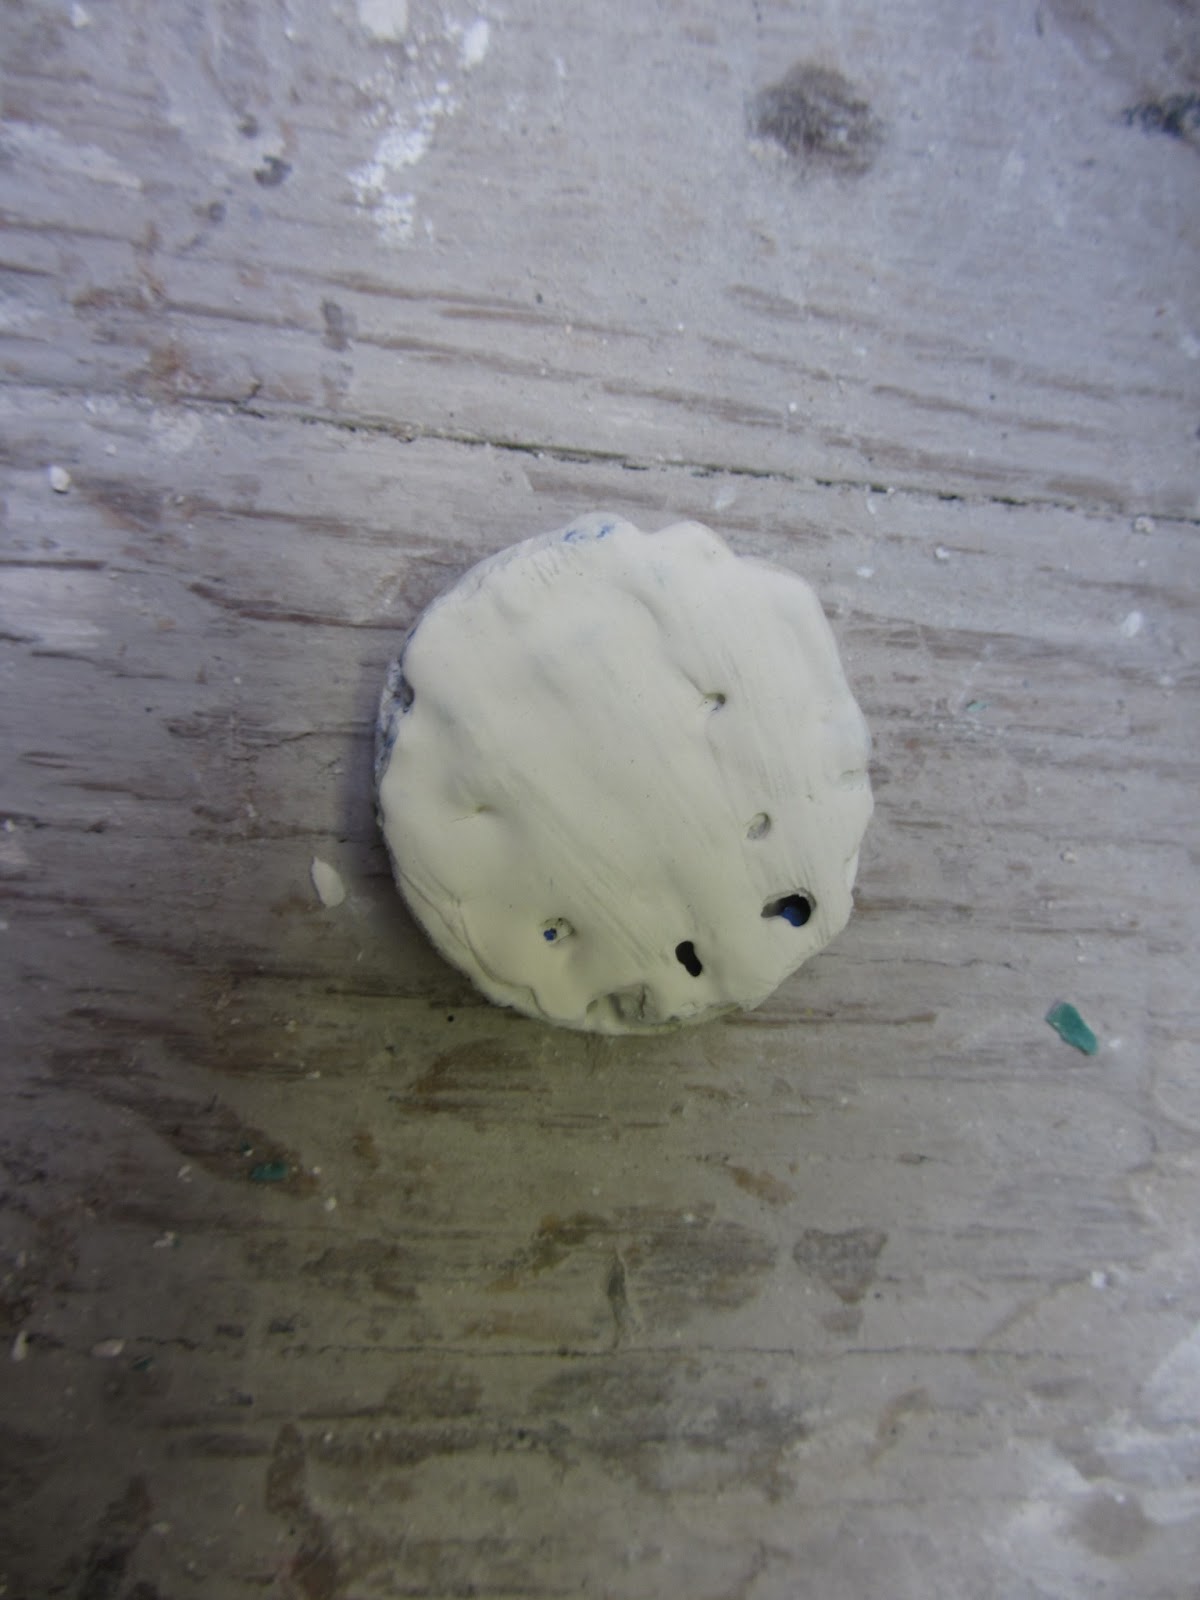
 For these very small ones, I didn't want to colour them particularly, but I wanted to use something to bring out the texture, so I used black copper oxide, then used a sponge to wipe the surface so the black was only in the indented parts.
 I did the same with this one, using a brown stain, wiped off the surface, to highlight the gaps between the mosaic tiles.
 This was my smaller woven piece, I have used royal blue under glaze and green stain for the different threads, then transparent glaze on top.

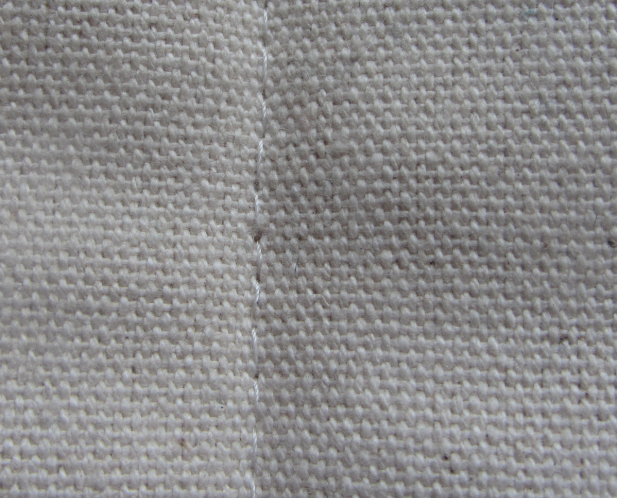
 I wanted to highlight the textile pattern on this piece, and I thought the detail could have been too easily obscured if I put a transparent glaze on it so I left it as a stain, wiped off the surface to create a contrast between the colours and the white clay.
 This was more compicated to glaze, and I had to buy a very small paintbrush to create the detail. I started with a white tin glaze, then painted on the green stain pieces. I couldn't find a glaze which was the right kind of orange, so decided to use a darker one, which will come out a darker colour than it is now.
I used the same colour for the middle of this piece, and painted the edges with the royal blue under glaze. I wanted these pieces to be quite vibrant, to possibly use these (or pieces made by a similar method) in jewellery.

Sunday 24 March 2013

Metalwork: Creating pattern on copper


 First, I used punches and a hammer to create a pattern, based on the pattern found on brick walls and paved floors. I was careful to make sure the grooves were continuous and all the same depth. I then used a wooden mallet to make sure it was flat without distorting the grooves.
 I painted on flux, and then heated it up with a blowtorch and touched solder to the surface. Unfortunately, it didn't spread out, it just stayed as a large blob in the corner, which is not what I wanted.
 I then pickled it in the acid before adding more flux (lots and lots of flux) and heating it up again. Thankfully, this time the solder spread out and covered most of the surface. I thought about putting more solder on, to cover all of the pattern, but I decided to leave some of the indents solder-free, because it reminded me of when cement falls out of walls, and I quite liked the look of it.
 I pickled it in the acid again before using the linisher to take the solder off the surface of the copper, so that the solder was only left in the grooves and it left a flat surface.
 I then used wet and dry paper to remove the tiny scratches the linisher had left, before buffing it and polishing it. I like this outcome, because the pattern is flush to the surface, and at first you only see the grooves in the corner, then you have to look closer to see the rest of the pattern.

Sunday 17 March 2013

Ceramics: Using pattern in clay.

I wanted to try making some relief patterns in clay, from my photographs and observational sketching. I made small pieces, with the intention of using them to test out different glazes, and see how they work on the textured surfaces, but also to test how the patterns look on a very small scale, with a view of possibly using ceramic pieces in jewellery.
I made two pieces using a weaving technique with strips of clay, based on both the pattern of woven fabric, and also based on a pattern I found inside an envelope. I then made a piece with the pattern of a cabbage leaf, with parts that were pressed in to create depressions, and also adding strips of clay to create veins. My last two flat pieces were based on patterns from floors, one a paving slab, and the other a mosaic floor. 
I then created a cube, using six squares of clay, with a different pattern on each square. I then assembled the pieces so the pattern was on the inside of the box and lid, hidden.

Wednesday 13 March 2013

Final Major Project: Hidden Pattern

For my final major project, I have decided on the theme of hidden pattern. I have decided on hidden pattern because I enjoy looking at detail and I want to create unusual patterns, not just geometric patterns and shapes. I will first look at organic patterns, like patterns in vegetables and plants, and transfer the patterns and shapes from these to jewellery I will be making. Through my work I have done so far in applied arts, I have found I tend to lean more towards small scale detailed objects and jewellery, so I would like to continue with this way of working.
 I will look at pattern created by accident, such as from a collection of objects, or pattern that has another use, such as road markings. I would also like to look into pattern created from another process, such as weaving or knitting. The fabric may have a pattern printed on, but I will be looking at the pattern that is created from making the fabric. it is not deliberate and it often unnoticed, but I would like to use this kind of pattern as a focal point in my jewellery.
 I will also look at pattern which is deliberate, but may be unnoticed, such as the patterns on banknotes, which many people will handle everyday without noticing the pattern and decoration that makes them so difficult to forge.


Wednesday 6 March 2013

Ceramics: Using marbles and enamel


I wanted to use other materials with my ceramics, so I used some of my marbles to put into circles and squares of clay, so that when they were fired the marbles would melt. As the glass cools at a different rate to clay, some of the marbles had cracked inside, which I think makes a very decorative effect. I also used some of the objects I have collected to make imprints in the clay. I then used enamel to add colour to some of the imprints. I added these clay pieces to the metal and recycled squares and circles I had made, to make a small collection of each.