Thursday 27 December 2012

Close up photography.

A selection of photos taken with the macro function on my new camera, a Canon Powershot SX220. Some of these are fairly abstract because of the extreme close-ups, as they show details that you wouldn't normally notice.
 I like the texture on the fake greenery, and the slightly different shades of green on each strand.
 I really like the delicate little curly pieces in this Christmas decoration.
 This photo shows a lot of detail, the grain of the wood, the line on the side of the knife where it has been cast, the loose thread on the place mat and the weave of the fabric. I really like the lines going downwards and sideways.
 This picture has picked up the direction of the fur on Dexter's nose, as well as the pattern on the cushion.
 These two photos are of the net curtain, which has been ripped by Dexter. The rips are very small and hardly noticeable but because these photos are so close up, it seems to look organic, something you might see under a microscope.
 This is a part of a bracelet I got for Christmas, made of semi-precious stones. I think the beads look like the night sky.

Metalwork: Vessels.

In our skills building phase, we learnt two different ways of making metal vessels, both hand raising and spinning. The first bowl I made was hand raised using a hammer and a stake. I found this quite difficult at first, because the disc of metal was still quite flat and it was hard to get the sides to come inwards without creating pleats or changing the shape of the bowl. I had to anneal the bowl several times while I was hammering it, because working with the metal makes it harder and more difficult to shape. 
 After looking at pottery shards, I started to think about how each of the shards had come from something, a pot or a plate, and I wanted to bring this theme into my metalwork as well as my ceramics. Using a piercing saw, I cut out an angular 'shard' shape from my copper bowl, and flattened it. I could then accurately copy the shape on to a piece of brass, which I reticulated to give it an interesting pattern and texture.
 I sewed this into the gap using wire, drilling small holes in both pieces to thread it though. I think this looks as if the bowl has been reconstructed from the shard, like an archaeologist would do.
I like the interesting idea of having a shard of metal. metal doesnt naturally shatter or crack, because it is malleable it would dent rather than break.

The next bowl I made was on the lathe, which gave it a very smooth surface, and a very regular shape because it was formed onto a block. I was pleased with how the bowl turned out, but I thought it was quite plain, and although I enjoyed the process, the outcome didn't really fit with my theme.
 For this reason, I decided to follow the same idea as my first bowl, but with a process more suited to the material. I first thought of hammering or dropping the bowl, and then trying to mend the bowl in an interesting way, but after some thought (and some encouragement from my metalwork tutor) I let one of my classmates take the bowl, with the instruction 'damage it, but don't destroy it' This was so I couldn't decide how to fix the bowl before I damaged it, as I would not know what the damage would be.
 A few minutes later, my bowl was returned, looking far less shiny and new than it had previously. He had used a micro welder to melt through the sides of the bowl, so there were now gaps in them, and also blobs of metal on the inside.
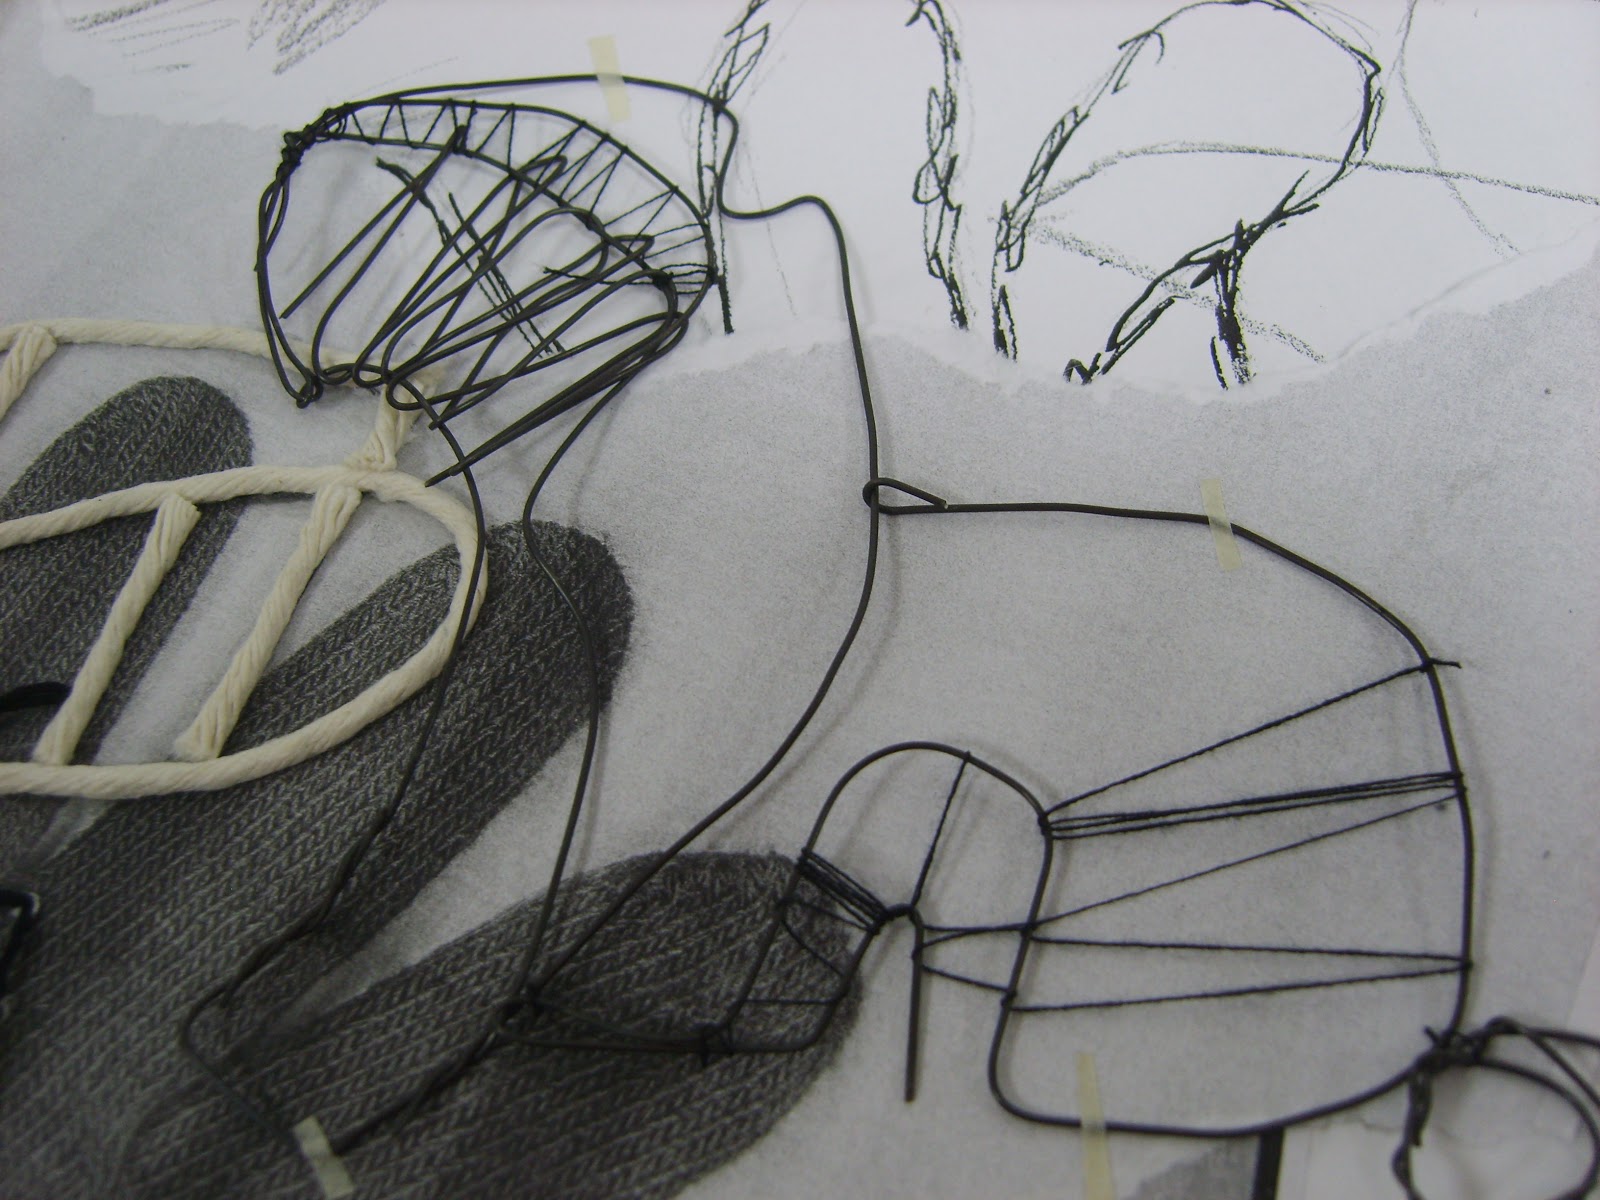
I did some quick sketches of ideas to decide how to mend the bowl, concentrating on decoration, not function.
 I then decided to hammer the middle part, in between the melted slits, to broaden it so the gaps were not as big. This also flattened the blobs of metal on the inside, some of them even fell off completely.
 I then did some more sketches of repairs I could do to make sure the pieces do not come apart.
I liked the idea of having round or oval bridges across the gaps, riveted in place on both sides, because this would be both decorative and unusual. I cut the ovals out of brass with a piercing saw, reticulated them, and drilled holes in both sides. I then used copper rivets to attach them to the bowl, doing one side of each oval before drilling the second hole in the bowl, so that they definitely lined up when I put the second rivets in.
 The rivets are quite noticeable on top of the brass, and I like the detail they create, which wouldn't be there had I soldered the pieces on. On the inside of the bowl, only a tiny amount of brass is visible through the gaps, and instead of the rivets contrasting the colour of the bowl, they add to the texture of where the copper was melted.
 I used powdered pumice stone and some liquid soap to give the surface a satin finish. I used a toothbrush to apply it, and followed the shape of the bowl where I could, so the brush marks went around the bowl and there were no harsh angular lines.

Stone setting (pottery setting)

One of the skills we are learning is stone setting, because stone setting can be very useful in jewellery making and fine metal work. For my project however, I felt this wasn't relevant  I used the same technique (inspired by Tania Covo) to set a piece of pottery onto a copper shape. First, I cut a teardrop shape from, and hammered it to give it texture. I then rolled out a strip of copper so that it was very thin and pliable, and cut a length that fitted around my pottery piece, but with a tiny gap. I then soldered the ends together, or rather, attempted to. My first attempt didn't work, because the copper was so thin it melted through when I heated it to solder it.


I tried again (with a lower  heat) and managed to solder it successfully. I then placed the ring onto the copper piece, and put two pieces of solder inside it, by the edges so that when I heated it, it melted and ran all the way round the ring to attach it firmly to the base. I also made a bail and soldered it onto the back of the pendant, before pickling it in the acid, then using pumice powder and a brush to give it a satin fnish.

The next stage was to set the piece of pottery in the setting I had made, and to do this I put the piece in, then used a small tool to push in the sides, to grip the piece.
 To finish it, I used a burnisher the to burnish the edges to make them shiny. I think this is a very interesting pendant, because although it is simple I think the copper contrasts well to the blue, and it is unique, no other piece of jewellery can have that piece of pottery in.

Ceramics: fired clay gloves.

 I really liked the colours the clay became when it was fired. I think glazing would make the colours more vibrant, but I didn't want to lose the texture on the surface.
Some of the small pieces got lost somewhere between being made and being fired, so some of the gloves are incomplete, but I don't mind this, because I have been looking at pottery shards, which are always a piece of something that was once complete.
For this glove, although it is only from one half of the mold, I had all of the pieces and was able to sew them all together, to reconstruct what it once was. My favourite part of this piece when I finished was not the look of it (although I do like the colours very much) but the sound it makes when you move it. It jangles when you pick it up, it sounds broken, fragile. I also think using the thread instead of wire or string adds to this sense of fragility and delicacy.

Pottery shards.


After looking at things people leave behind, I started to look further back, to people that lived hundreds of years ago, and started looking at archaeology and pottery pieces found in rivers and streams. I found artists who use pottery shards in their work including Tania Covo, who sets pottery pieces she finds in the thames in silver to make jewellery. I also looked at Cleo Mussi, who uses reclaimed pottery to make mosaics.


I collected some pottery shards from a river bank in Bradfield, and have been using these to base most of my project work on. The patterns and shapes have inspired my sketchbook work as well as my practical work, and I have also been using them for observational drawing and collage.


Sunday 16 December 2012

Design visualisation: observational drawing and modelling.

I decided to use a glove as the base for my observational drawing, to link with my theme of trace elements. A glove is often something people lose without noticing, if it falls out of a pocket, and it is a trace of the person who has been there.


I started off by using a graphite stick and pencil to do some quick sketches of the glove, in various different sizes and positions. I then used ink and collage to work into my drawing, to highlight interesting patterns and shapes.
I also did some separate quick drawings, to try to capture some of the different tones and shadows in the glove. 

After this, I started picking out some of the interesting patterns and shapes to make in wire. I found it difficult to bend very tight angles in the wire so some parts were more curved than I hoped they would be.

I then started to use black thread with the wire to create different thicknesses of lines, and some sharper angles. Some of the wire bits didn't look at all like a glove, but I found this was a good way to generate ideas from everyday objects, that could be used for jewellery or a printed pattern.

  After this, I started using collage, string, masking tape, sewing, and photocopies of the glove to create small object, taking ideas from my first drawing.