Showing posts with label plaster. Show all posts

Sunday, 6 October 2013

Glasswork: Organic form lost wax casting

 In our induction into glass, we started to process of making a lost-wax mould. we each got given an egg shape on a sprue, and could carve into this, or add bits to it, to create an organic form (still working within the theme of nature and culture) I decided to try to make a rose shape, and I did this by adding pieces of spare wax to make petals. I did this in a way that I think the glass would be able to flow through the mold (the sprue will end up at the top)


once I finished the rose, I weighed it to calculate the amount of glass I would need to use to fill the mould later.
I made a clay cone shape about the same size as the flower, and sat my flower on top of it. this will create the reservoir in the mould, to hold the glass before it flows down into the mould.

i decided to attach them together using a cocktail stick because it didn't feel very secure just sitting on top of the clay.
i used boards to create a box around the rose, making sure there was about 1.5cm gap around the edges. i secured the boards in place with clay, and then tied around it with string to make sure it wouldn't collapse when the plaster was poured in.

i mixed plaster and silica together with water, until it was the consistency of single cream. it had a slight texture to it because of the silica. i poured it in around the side of the rose, so as not to damage any of the petals.
once the plaster had gone off and was cooling down, I took the walls down. I also removed the clay, to leave just the plaster and wax. I left this on the side to dry a bit more, to steam the wax out another day.

I etched my initials into the side of the plaster while it was still soft so I didn't get it confused with anyone elses.

Tuesday, 21 May 2013

Ceramics: using plaster stamps

I made plaster stamps by pouring plaster into clay walls. The first stamp I made by carving the design into the plaster while it was still soft, and the other three I made by creating the design in clay, building walls around it and pouring the plaster in.
I then used these stamps to impress designs into slabs of clay. I tried to make regular patterns with the stamps, but also change the amount of pressure I put on the stamps to get different effects.
I also rolled balls of clay, and stamped one design on each, which I really liked because the random shape of the outside contrasted well with the very geometric stamp designs. I made 25 of these, to set out in a 5 x 5 grid, so they create a pattern when all put together.

Sunday, 16 December 2012

Ceramics: Using the plaster mold.

After making my two part plaster mold, I found that one side of it was not hard as I expected it to be, but spongy and crumbly when I touched it or tried to put clay in it. For that reason, I decided to put it in a drying oven, and just use the other half, to see if I could get any casts of my glove from that while the other half was drying.
I think this worked well, because the textile texture transferred very well to the clay, and was very realistic on the surface.
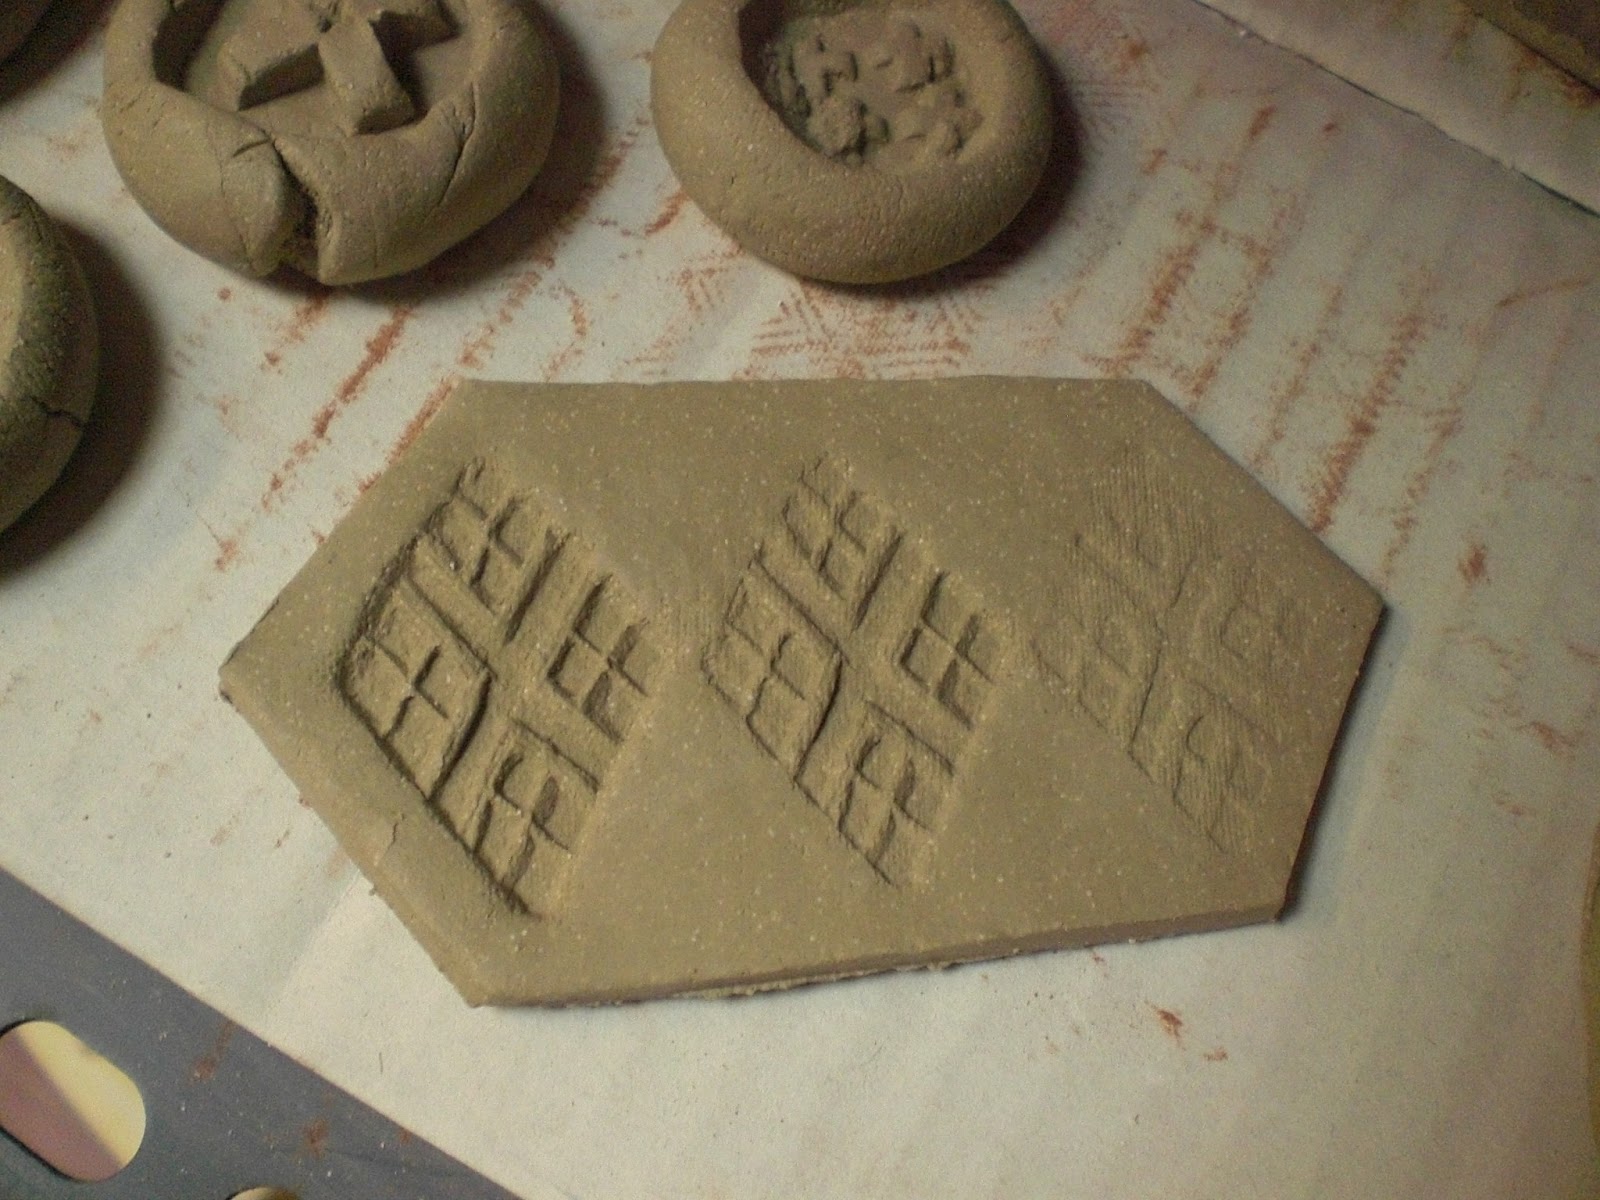
Next, I coloured some clay, and put some of that in before the rest of the clay, so it would come out on the surface. I liked the effect this had, but unfortunately, the clay had dried out a bit, and the thumb cracked off. At first I thought I would just crumple it up and try again, but I felt this was a waste of the spot pattern I had made, so inspired by my research into Tania Covo and Cleo Mussi, who both use shards of reclaimed pottery in their work, I decided to carry on, and used a needle to make holes in both pieces, to sew them back together later. Just because it wasn't perfect, didn't mean it couldn't still be used. After this, I decided to do some more research into casting, and found Janet Haige, who also used stitching in her casting, and used textiles and lace to make imprints in clay.
 In my next casting, I cracked it even more, so there would be more emphasis on the sewing.
When the other half of my cast came out of the drying oven, the plaster was a bit harder but still stuck to the clay quite a lot, and made it very difficult to get the clay glove out of the cast. My clay glove from the two part cast also cracked and stuck in the cast, so I made holes in this one as well to sew back together later.
One of my casts from the two part mold did come out whole, and I used the coloured clay to make patterns, but I found that this didn't look as exciting as the ones to be sewn together.
Close-up of the coloured clay and texture of the glove.

Saturday, 15 December 2012

Ceramics: Making a plaster mold

 The first step to making a two-part plaster cast is to bury half of the object being cast in a slab of clay. I am using a glove, so I filled it with sand so it was more three dimensional. I then built clay walls around my slab, and poured in the liquid plaster. When the plaster was almost hard, I removed the clay walls and the slab from the base, but made sure the glove stayed in the plaster piece. I used a five pence piece to dig out holes in the flat parts of the plaster, then painted the plaster with soft soap, to ensure the second half wouldn't stick. I built up the clay walls again around the edge of the plaster piece and poured more plaster on top. I made sure to carefully scoop in the plaster, because if I had poured the plaster straight on top of the glove, it may have dented it.
 I waited for this half to dry a bit, before taking the clay walls off and using a rasp to smooth the sides of the casts, so the join was neat and could fit back together easily. I also scratched two lines on the edge of the cast, so it would be easy to fit back together when I was making my clay gloves.
When the plaster is fully dry, I will take the glove out and use the cast with my clay, and I can make a lot of clay gloves that will all be very similar, to use them in a series. I think the plaster will pick out the texture of the knitted glove very well.